


I’ve been an invitation designer for a decade now, and one thing I always say is to think OUTSIDE of the envelope! Don’t let your wedding envelope liners be an afterthought in your designs! As the first thing people see, getting your envelopes right can really make a grand first impression for your wedding envelopes.
People also often make mistakes when it comes to mailing wedding invitations, so I’ll chat about what to consider for your envelopes so that you don’t have a huge postage bill or any delivery issues.
Wedding Envelopes: The Rules
There aren’t THAT many rules when it comes to your wedding invitation envelopes, but here’s what I like to mention:
- Stick to standard sizes! Anything out of the ordinary might require a custom envelope ($$$) and / or custom postage (again, $$$). Standard sizes are typically A6, A7, and A9 in the US.
- Square envelopes or vertical orientation addressing will require additional postage as well
- The Post Office recommends against white ink – I do it quite often, but for *best* results, use darker ink on lighter envelopes
- The Post Office recommends against red ink as well
- Anything with a “bump” of over ¼” will require “nonmachineable” postage. This means it can’t go through all the machines correctly – this often leads to a little extra delivery time, and it has a surcharge. The most common causes of this are a wax seal or a tied ribbon!
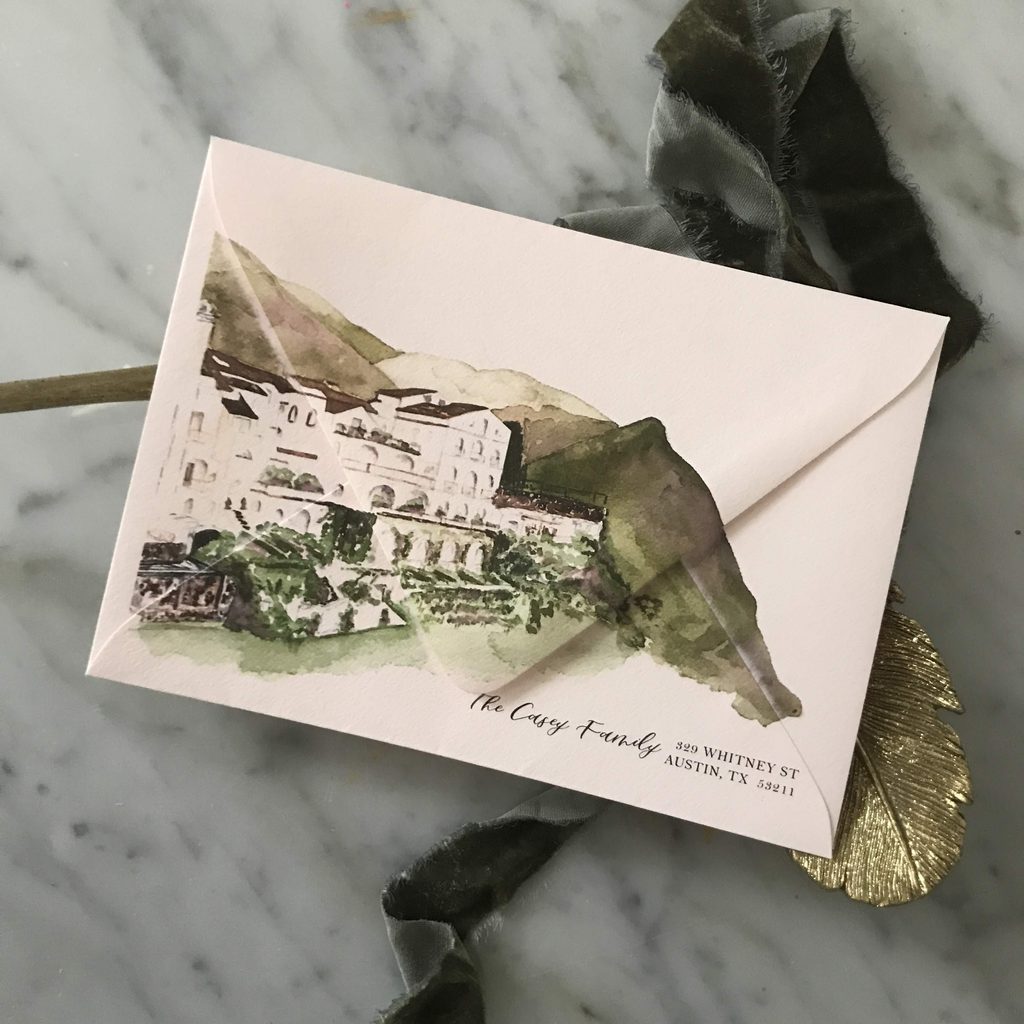
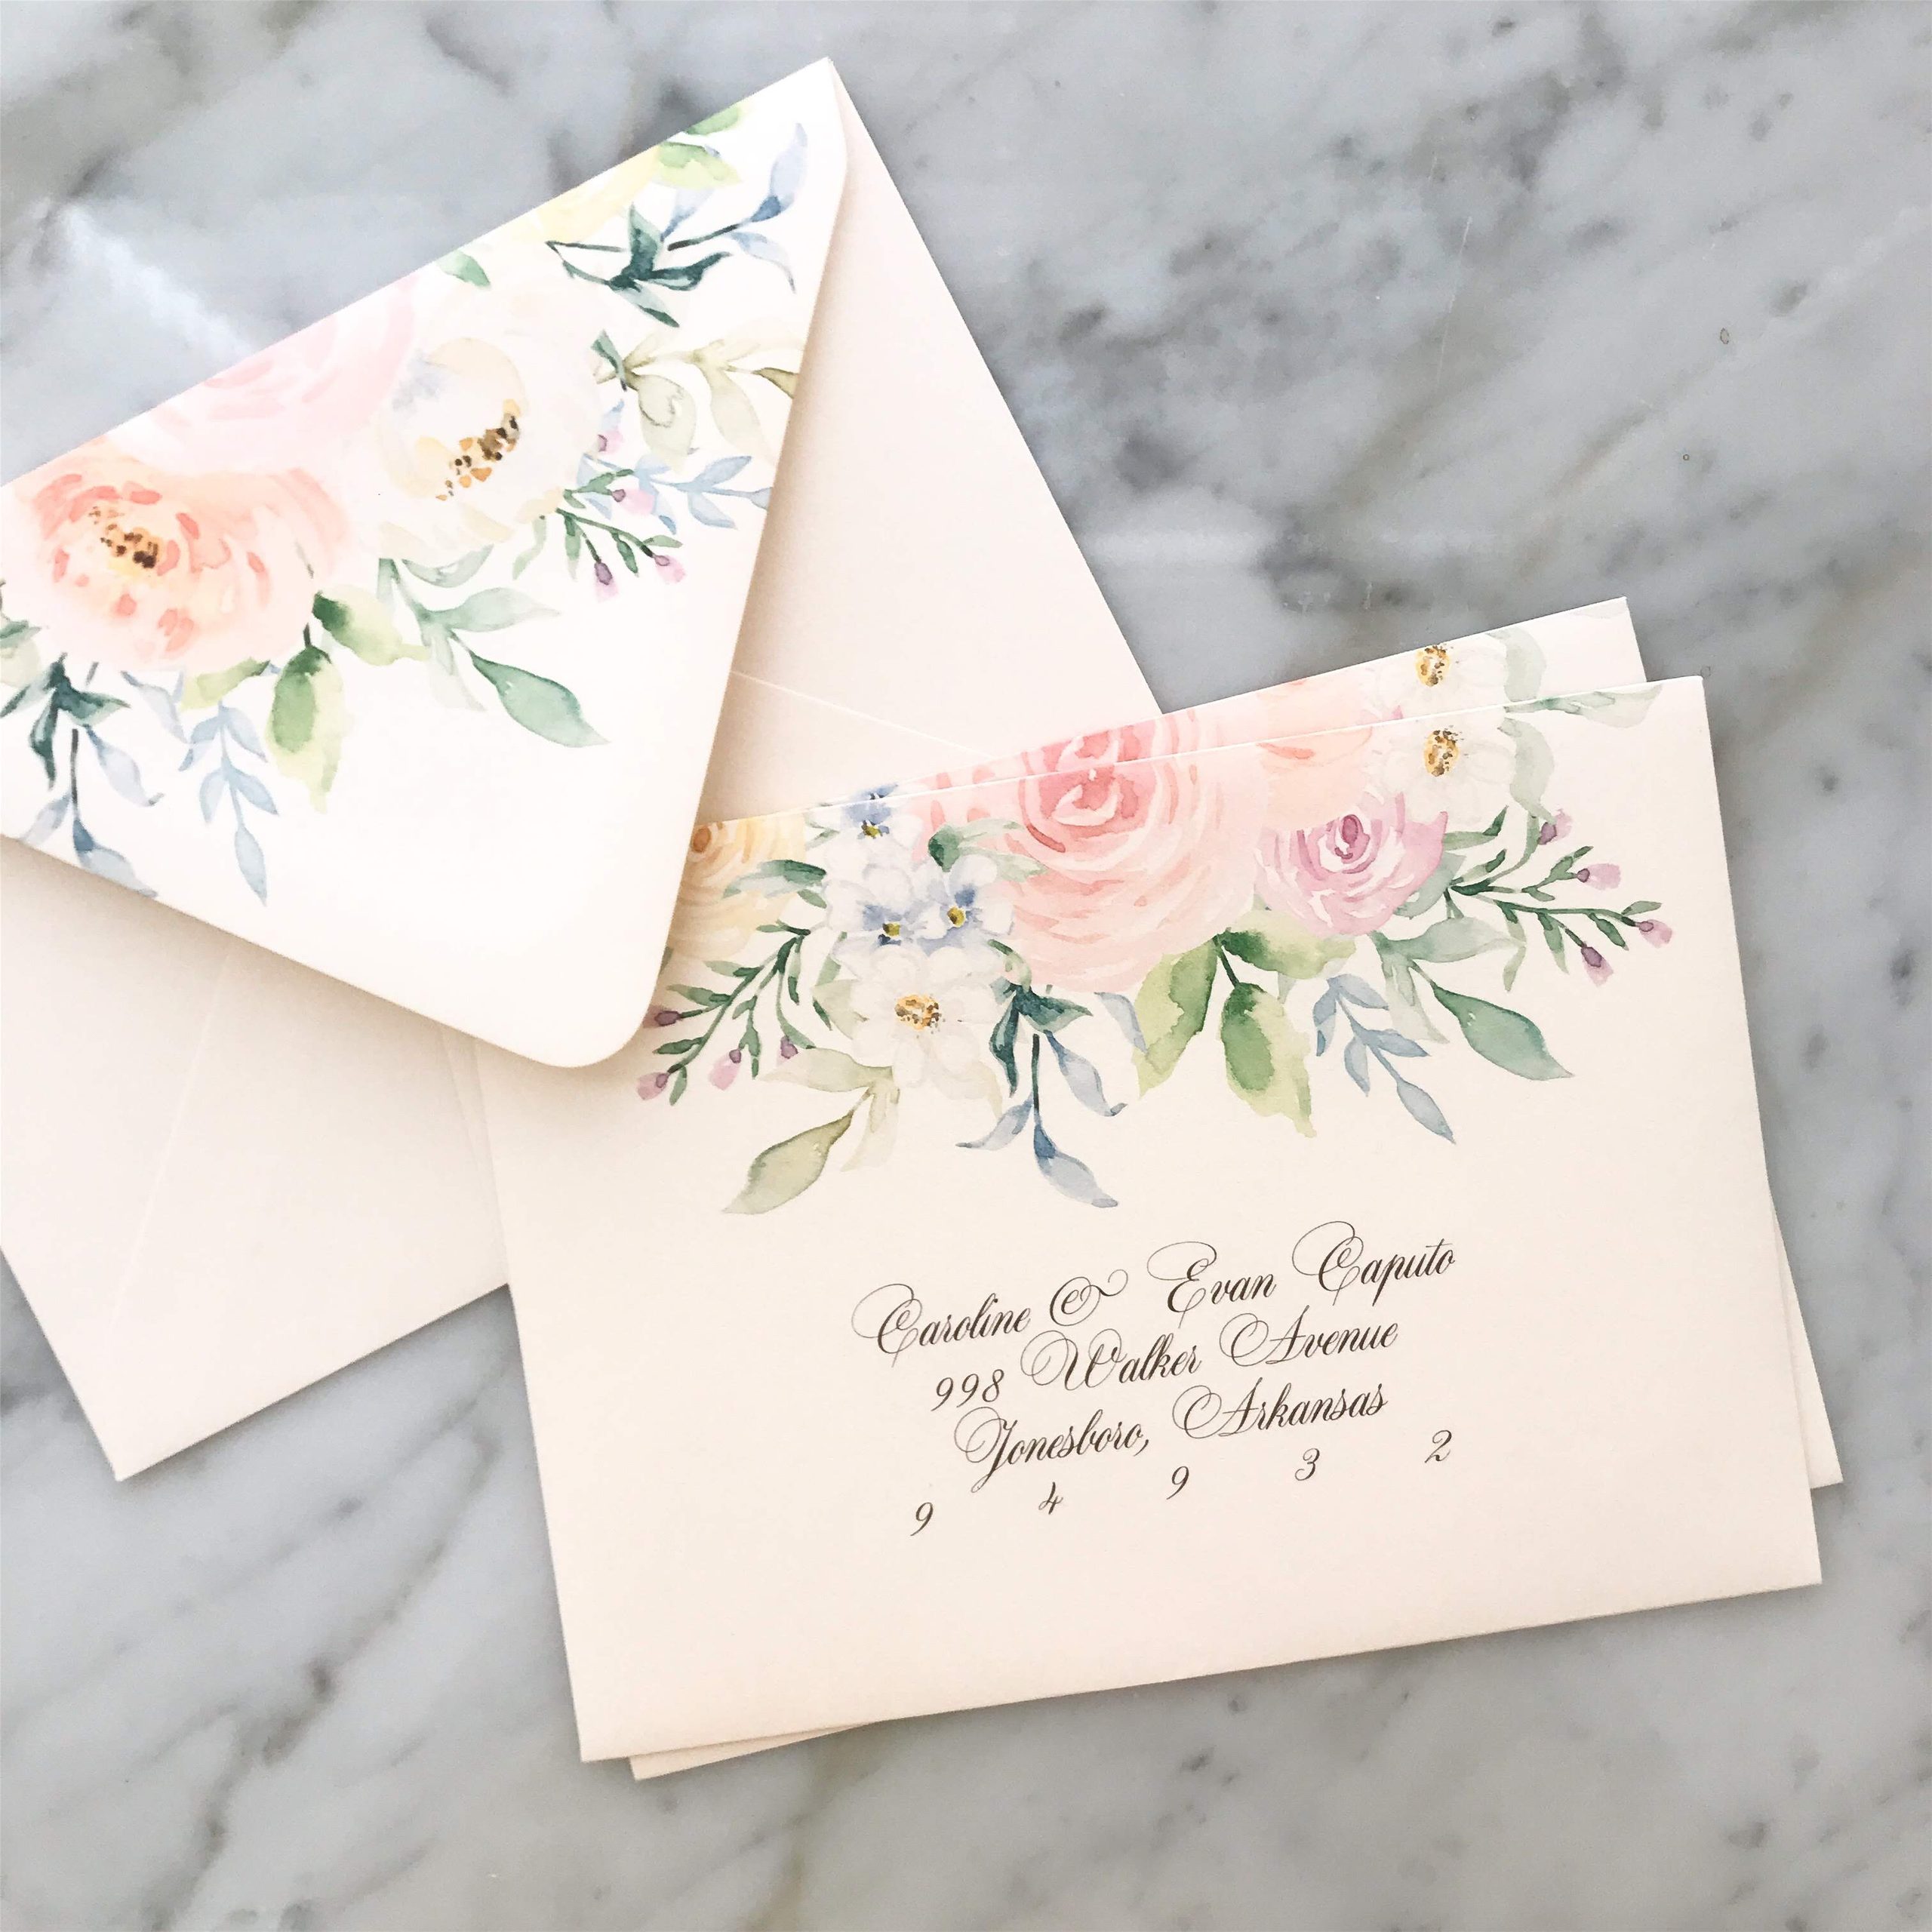
Other than that, you can do pretty much anything you want with your envelope design – including some things that are a bit “crazy”. I have done a lot of unique designs on mine, from over-the-flap designs, to frames, to decorating around where the stamps go! Here’s a little peek:


Return Address on Your Wedding Envelopes
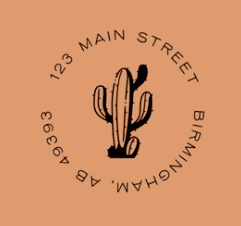
One thing to pay attention to on your wedding envelopes is your return address. The Post Office recommends putting it on the same side as the guest address, but I ignore this advice every time and have never had a major issue. The most likely issue with this is if the return address accidentally gets read as the recipient address – then all of your envelopes will come back to you instead of arriving to their guests. To avoid this, put your return address high up on the flap, make it short and small, don’t include a name, and/or use a unique shape. I love a circular return address for this purpose!
Postage for Wedding Invitations
When it comes to postage, rates are always changing, so always check the latest rates. A Forever stamp will work with today’s current rate, even if you bought it when rates are lower (so if there’s a rate increase scheduled soon – go ahead and stock up to save money!).
Invitations will start with 1 Forever stamp. This covers 1oz, without a nonmachineable surcharge or anything extra. International invitees will have a standard First Class International stamp.
You can use any stamps that add up to the rate you need – so you don’t NEED the international stamp to send things internationally. You don’t NEED a Forever stamp to send anything. If you want to look into vintage postage, or add up a few with cute designs, you can do that! Just make sure it adds up to the correct amount.
Each additional ounce over 1 oz will require additional ounce postage.
And any “bumps” or irregular sizes might require a nonmachineable surcharge in addition.
If you have a nonmachineable surcharge for one reason, it will cover other reasons (ie: for a bump AND an irregular size, you only need 1 nonmachineable surcharge).
If your invitation cannot be bent or is more than ¼” thick, it might bleed into “parcel” rates which start at a few dollars, and need to be calculated for each address – trust me, you DON’T want to do this, it’s very complex. So I’d recommend avoiding acrylic invites and any especially rigid or thick materials.
RSVP Card Postage
You also need to include postage on your RSVP envelopes if you are using mail-in RSVPs. If any of your guests are international, they will need to purchase a stamp from their country, so you can leave theirs blank. Usually an RSVP card only needs 1 Forever stamp. You can also use a postcard-style RSVP card to save on postage, and avoid the cost of the extra envelope! Postage for postcards is cheaper than for letters!
Designing Gorgeous Wedding Envelopes
I showed you some examples of gorgeous wedding envelope designs earlier. I wanted to encourage you not to just slap an address on it as an afterthought, but to truly include your envelopes in your designs! Here are some of my favorite ways to add pizzazz to your envelopes:
- A simple element over the addresses to match your invites
- Colorful envelopes
- Envelope liners (more on this later)
- Curated stamps to match your vibes
- A fun “Kindly deliver to” or “Special invitation for” over the names
- Mix and matching a script font for names and a print one for the addresses
- Small elements around the address
- A frame around the full envelope
Where to Get Colorful Wedding Envelopes
Where can you buy colorful envelopes for your wedding? I love a sturdier envelope, that feels like it fits with your gorgeous invites! Here are a few of my favorite places to shop:
LCI Paper
LCI has a great selection of colored papers and envelopes in a straight flap and v-flap shape for your wedding invitations! They even have torn-edge envelopes for an organic look! Order in packs of 25, and check out their printing services while you’re there too.
Cards + Pockets
Cards + Pockets has a great color selection too, including a few colors you cannot find anywhere else! You can order exactly as many as you need – while you’re there check out their pockets, laser-cuts, and card printing too!
Where to Print Wedding Envelope Addressing
Both LCI and Cards + Pockets print wedding envelope addresses as well! They can print in white ink or in colored CMYK ink for your guest list. You can upload a guest list and select the fonts, or you can design your envelope print file yourself if you want to add something extra to it! (I’d recommend using the Bulk Create feature in Canva – here’s a video tutorial).
You can also print wedding envelopes at another printer called Prints of Love. They only work with white envelopes, but if you want something simple they’re great!
I would honestly NOT generally recommend printing envelopes at home. It’s a lot harder to print envelopes on most desktop printers than it is to print flat cards. Trust me, I have un-jammed hundreds from my printers and that’s as a professional. Even I outsource my envelope printing when I can.
What are Envelope Liners?
Envelope liners are my absolute favorite addition to any wedding invitation suite. They protect your invitations a bit and add a real “pop” to your invites! Your guests will love these – I know people comment on them whenever I include the in my personal mailings.
You can use lots of different design styles for your liners – plain colors, foil, a simple all-over pattern, or something more structured like a monogram or your dog’s portrait.
The one thing to watch out for with envelope liners is that every envelope company shapes their envelopes a little differently! Even if two companies call it a “euro flap,” the depth of the V shape is likely different. So make sure you’re checking with the liner and/or envelope company to make sure they will fit correctly! In general, if you order envelopes and liners from the same place, they should fit correctly.
For envelope liners, you want to use thin paper – it will bend easier and not add weight to the suite that will increase postage.
How to Install Envelope Liners
You want your liners to move a little bit when the flap is opened and closed, so only glue the top portion around the edge (the V in a v-shape flap). You don’t need to add adhesive along the crease where it folds.
Here’s a video showing you how to do it, but the basic steps are:
- Install the liner and position it as you want
- Close the envelope and crease the fold
- Open just the envelope flap, leaving the top of the liner facing down
- Add adhesive (glue stick, tape runner, etc.) on the outer edges (not the crease)
- Fold the envelope flap back down and adhere by pressing down
- Voila!
Where to Get Envelope Liners for Wedding Invites
It’s a good idea to order your liners from the same company you’re getting envelopes from to make sure they fit correctly! Both LCI and Cards + Pockets offer custom printed envelope liners.
If you want something with a fun design that you don’t have to make yourself, we offer over 100 different designs in v-flap and square flap on our Minted store! The v-flaps in our store will fit the v-flap envelopes at Minted, LCI Paper, and Cards + Pockets – we’ve tested them! I hope you’ll check them out if you want to add some fun patterns, images, or other designs to your wedding envelopes!


Behind the scenes with your favorite Stationery Auntie Laney (and all the inside scoops!)


