Affilate Marketing
All Things Printing
Business Resources
CRMs and Systems
Marketing
Tips & Tricks
Hi, I'm Laney!
I make wedding invitations and I teach artists how to work smarter, make money, and run a business that works for you.
We'd love to have you join us - signup for our email list to get DBL updates, stationery design tricks, business tips and more!
Lots of people ask me how to mail wedding invitations. We don’t know a lot about mailing things in general anymore, nonetheless something special like mailing wedding invitations. So I’ll walk you through everything you need to know about mailing your invites.
When to Send Save the Dates
If you’ve got a destination wedding (50%+ of guests getting on a plane), then you should send Save the Dates around 9 months in advance, or earlier. If you don’t, then you can send as soon as 6 months before the wedding. Earlier is generally better.
Our Semi-Custom Save the Dates take about 3-4 weeks from start to finish!
When to Send Wedding Invitations
You should send your wedding invitations 8-12 weeks before the wedding. The RSVP date should be at least 4 weeks before the wedding, so you have time to work on your seating chart and get the venue, stationery designer, and coordinator (if applicable) that information.
If you have a destination wedding, err on the earlier side, because people will need more details to finalize travel plans. Better yet, include travel information on your website and your website on your Save the Date!
Destination wedding or not, you actually can send wedding invitations too early. If you send earlier than that 12 week time period, people will forget to RSVP, guests’ plans will change last minute, and it will all be confusing. As long as you’ve sent a Save the Date – you do not need to send earlier than 12 weeks (even for destination weddings).
Our Semi-Custom Wedding Invitations take 3-5 weeks generally!
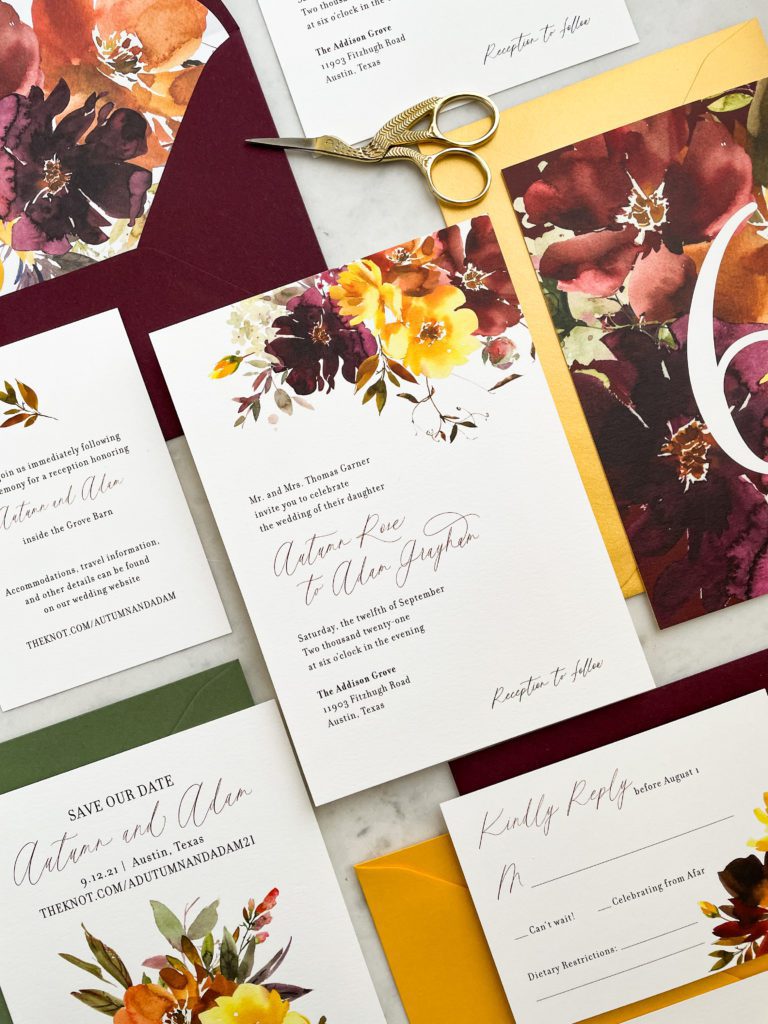
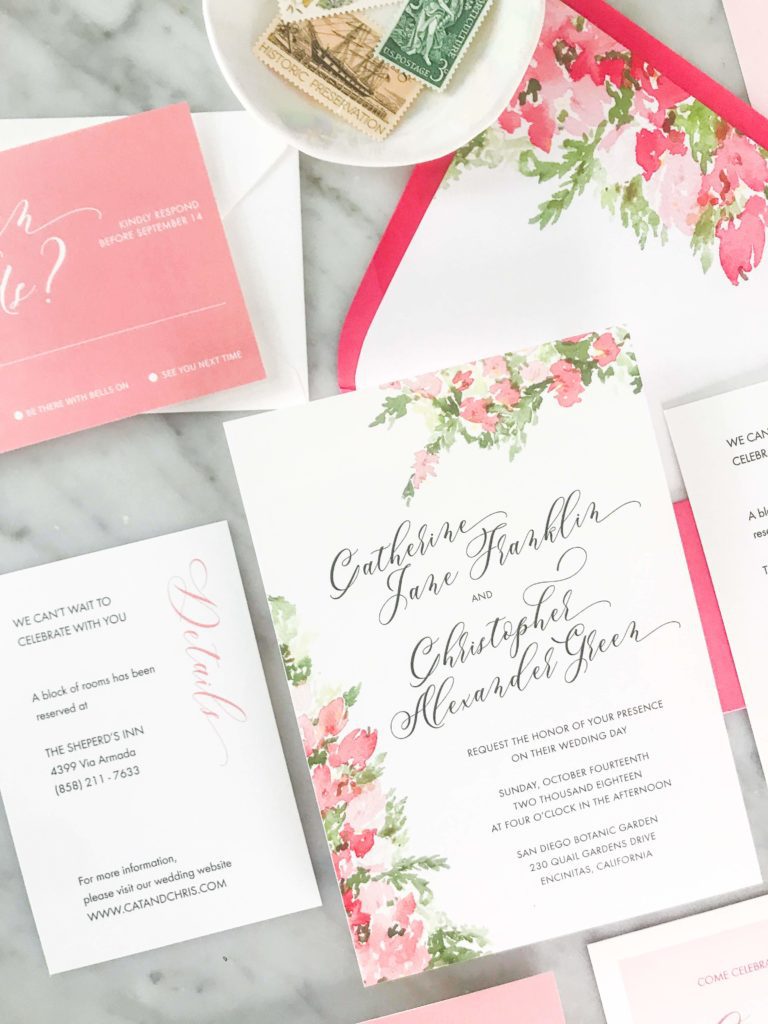
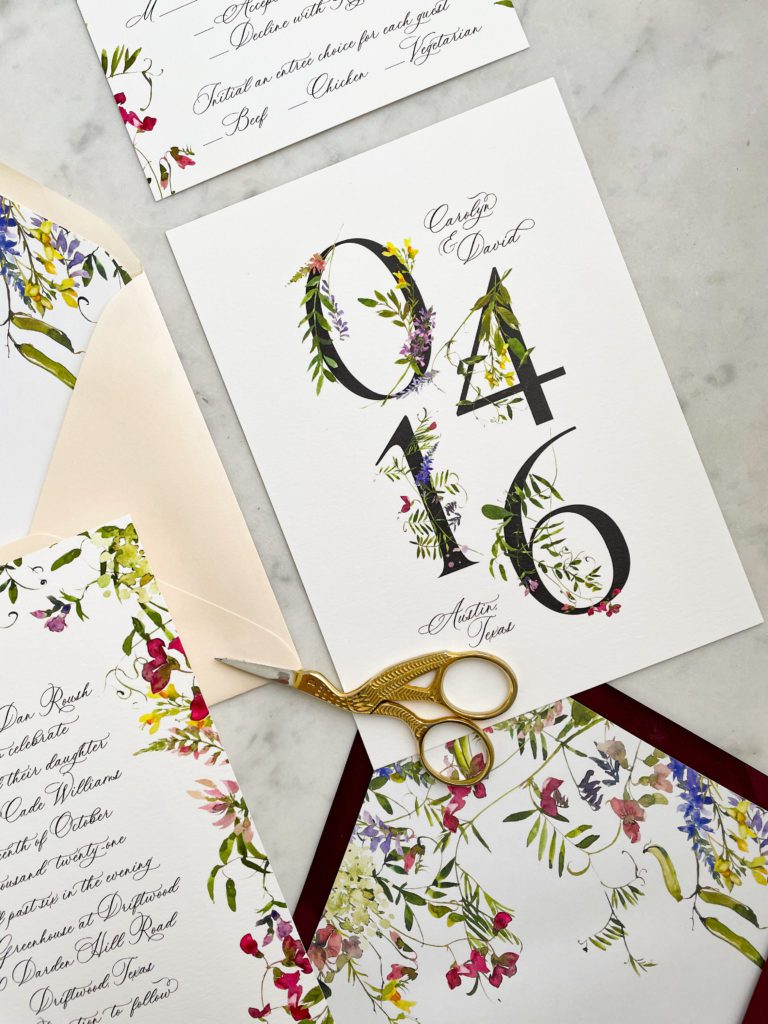
Stuff and Seal Wedding Invitations
The first step to mailing your wedding stationery is to stuff and seal the invites. Your designer can likely help you with stationery assembly (it might be an extra charge) if you’re working with one.
Otherwise, you want to ensure the invitation card, RSVP card, etc. are all facing the same direction, and everyone gets the same cards, plus any individual cards that they need (brunch, rehearsal dinner, etc.). I like to put them in the envelopes as if a right-handed person is opening them (even though I’m left-handed). And any landscape-oriented cards are right-side up.
If you’re still in the design phase, you can use design elements to create an interesting “Stack” design. This just means that you pay attention to how the invitation pieces will stack together.
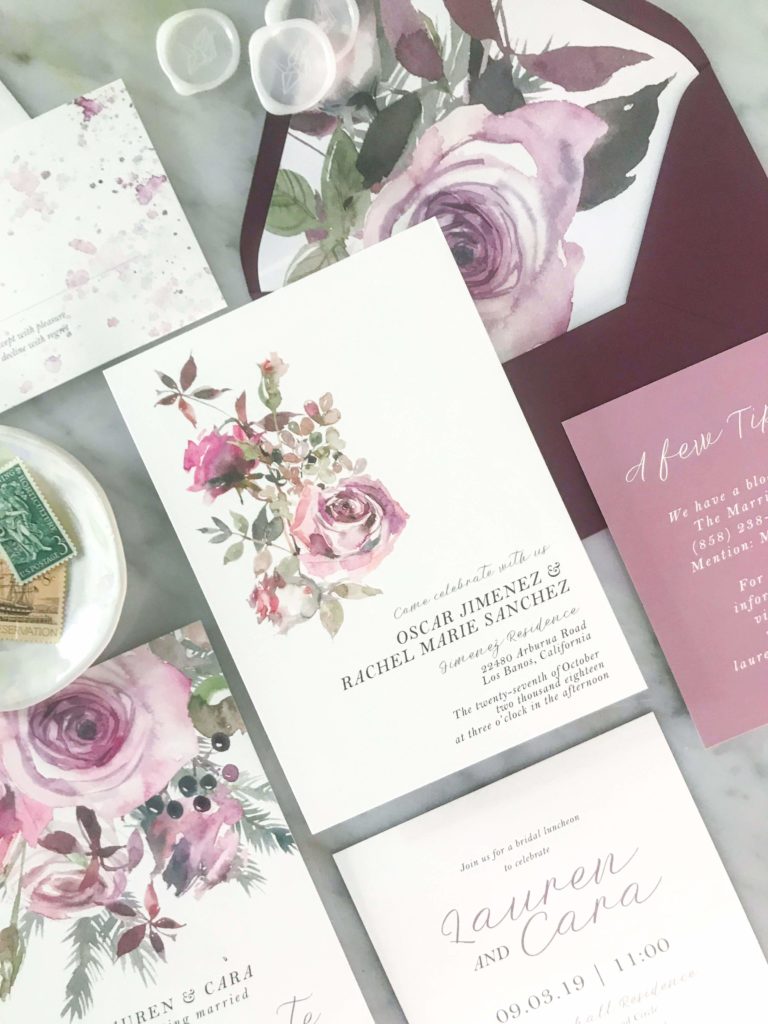
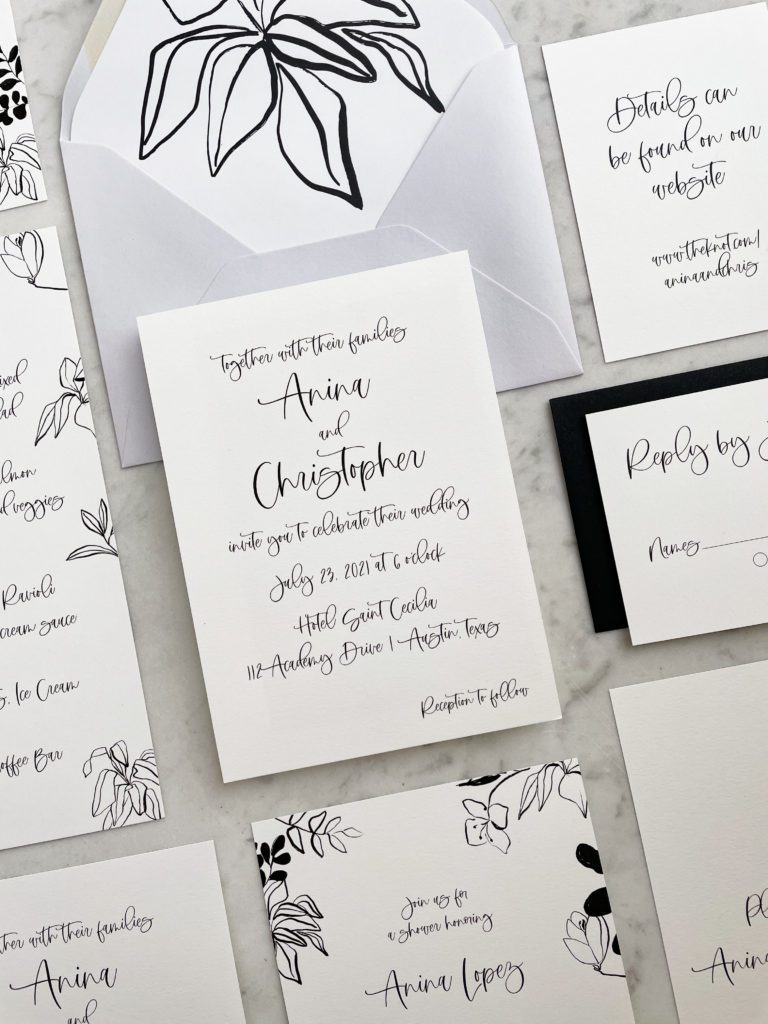
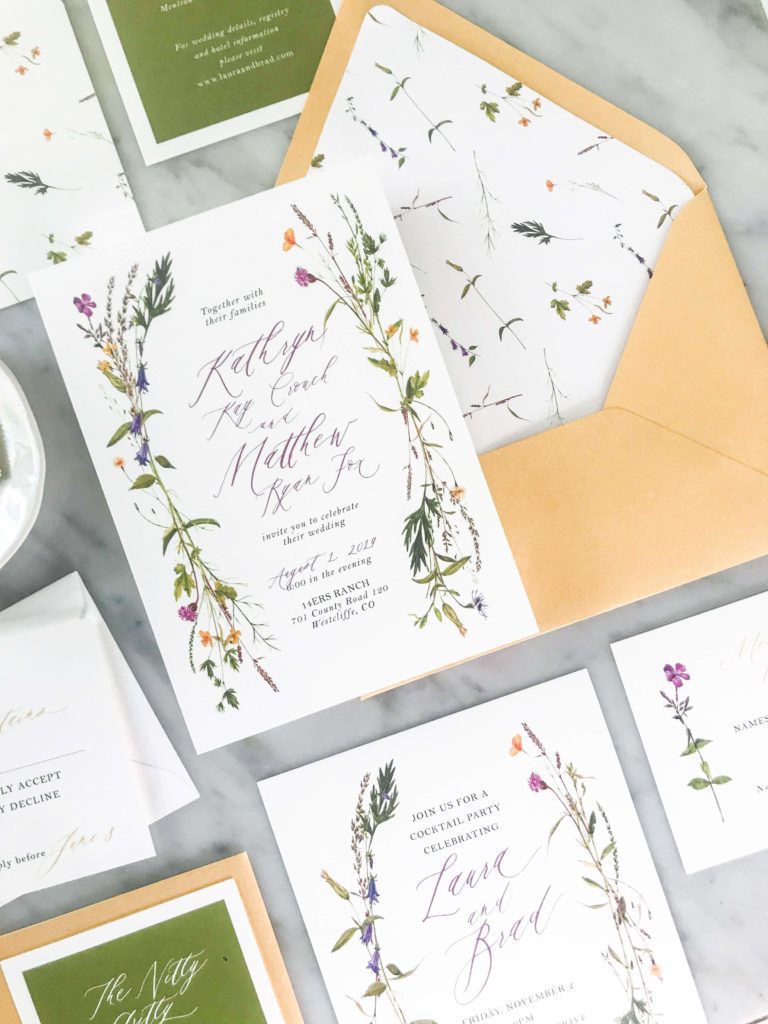
Here are some examples of unique invitation set designs where I really paid attention to the stack design:
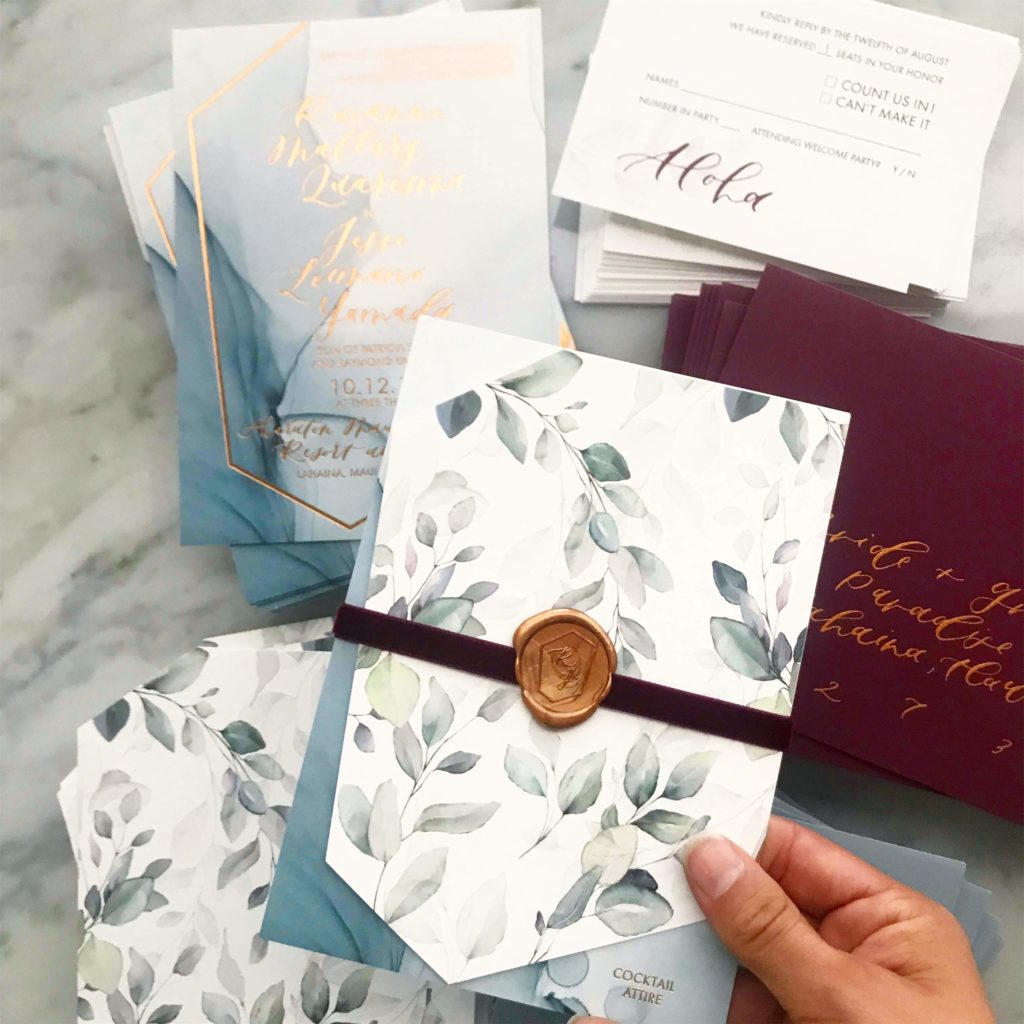
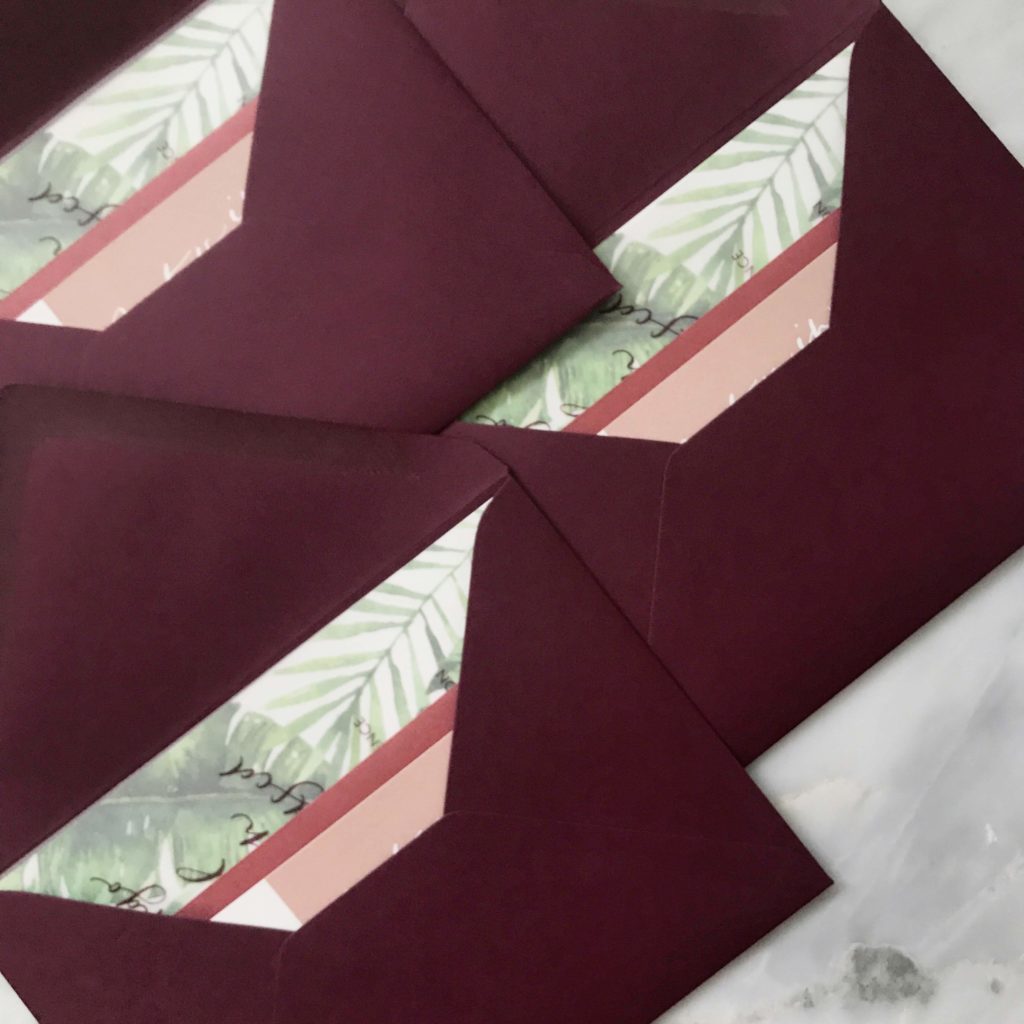
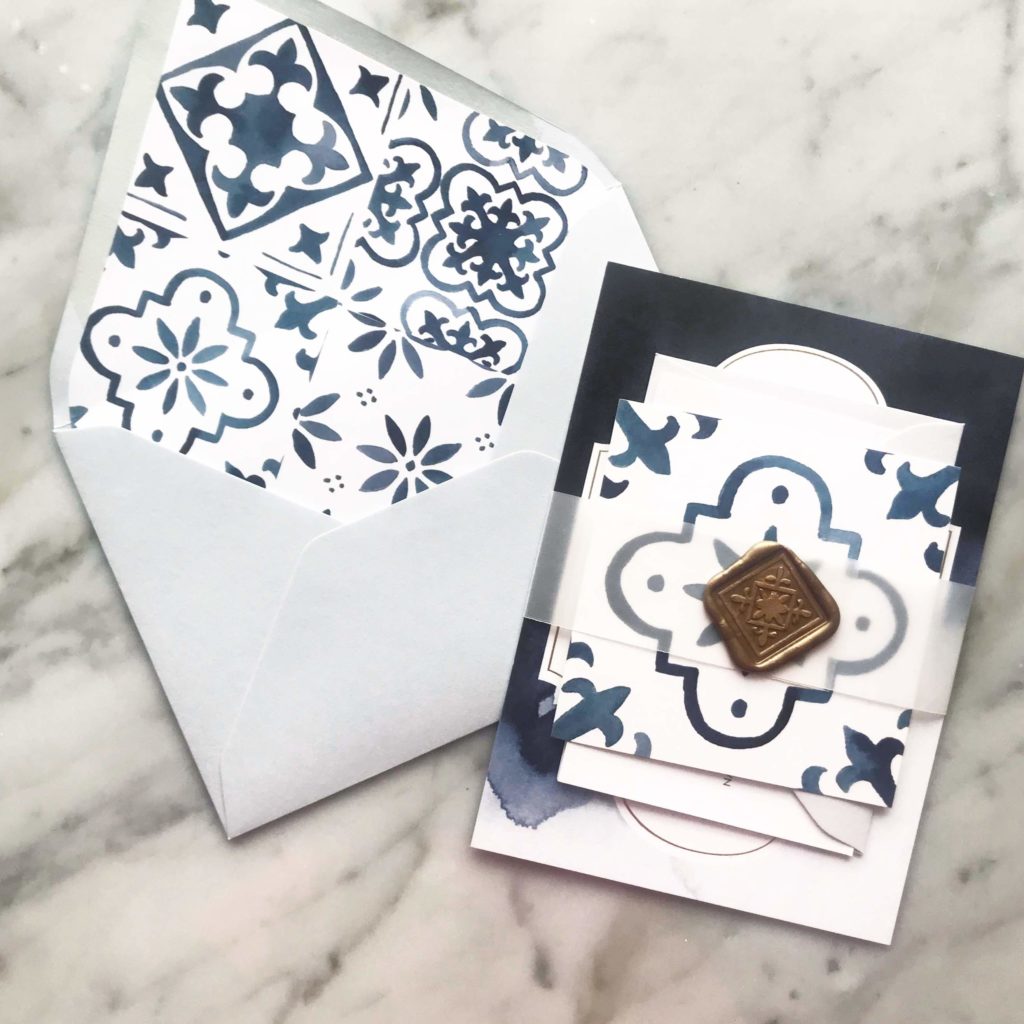
Some basic invitation assembly tips are:
- Wear gloves or wash your hands to keep everything clean. Make sure to thoroughly dry your hands before handling invitations.
- Order extra of all supplies! You’ll need them, I promise.
- Give yourself time. Assembly takes time, even for the pros.
- A glue stick will work for most assembly tasks (envelope liners, belly bands, sealing envelopes) or I use a Scotch ATG gun for gluing envelope liners, attaching belly bands, etc.
Addressing Wedding Invitations
There are 3 main options for addressing wedding invitations:
- Calligraphy wedding invitation addressing. This will generally be more expensive, but comes in tons of different styles and gives a really personalized feel.
- Printed wedding invitation addressing. A more cost-effective alternative to calligraphy addressing. I love printed addresses, because you can use all different fonts, styles, and design elements. Here’s a photo of some of my favorite unique wedding invitations that all have printed addressing. This type of addressing doesn’t cost any more than regular printed addressing – but it sure adds a fun, unexpected surprise!
- Addressing your invites yourself. Give yourself time, and use a nice pen! My favorite is the Micron.
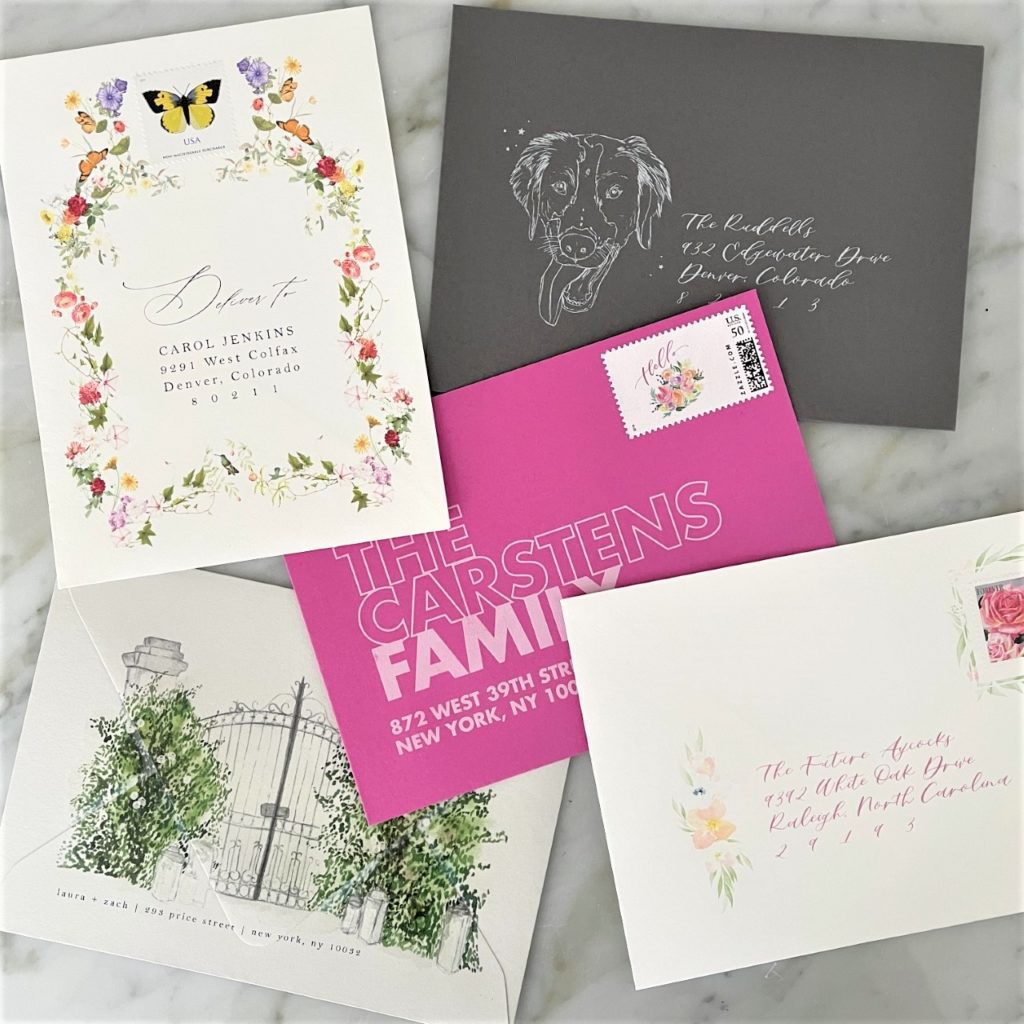
Many clients ask if calligraphy addressing is okay for the Post Office. The answer with the post office is always…maybe, maybe not. I’ve never had any issues with my calligraphy, but you might have issues with small envelopes, or really swirly formal calligraphy styles.
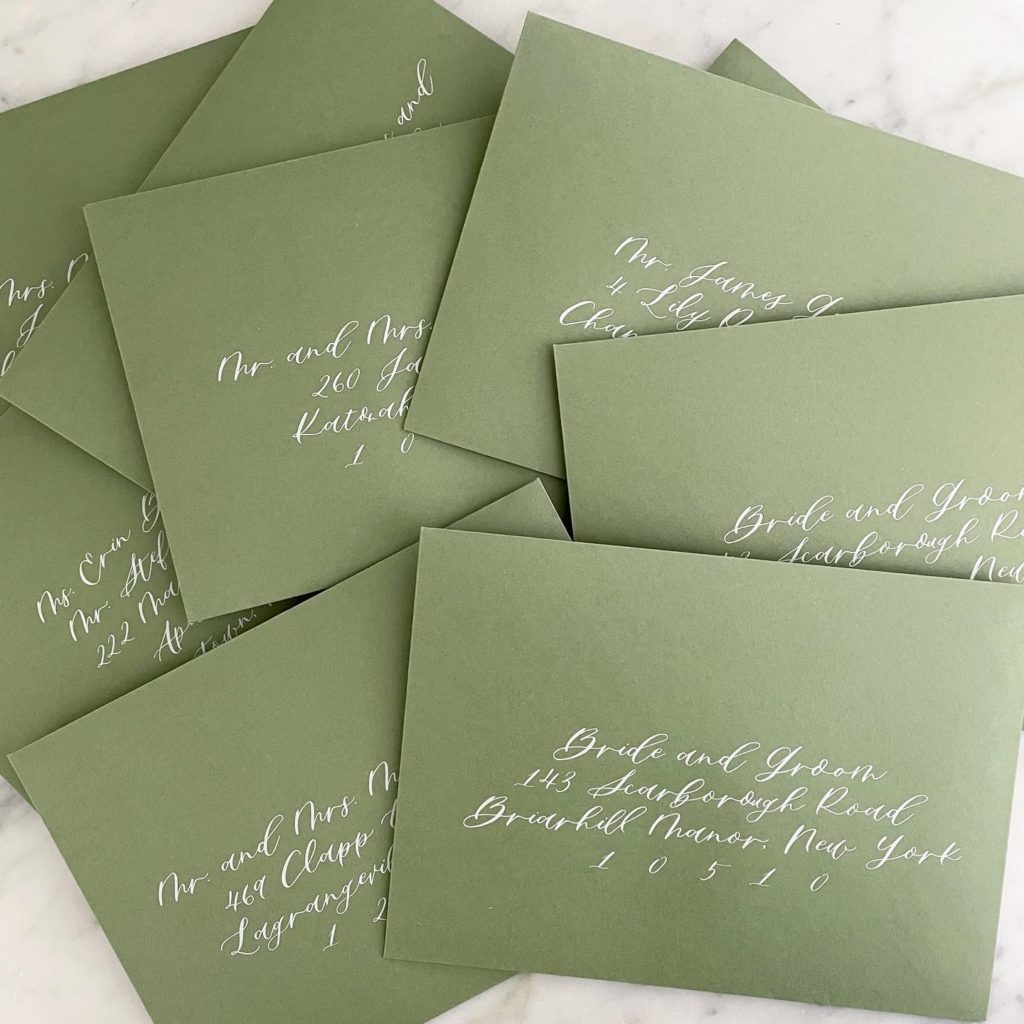
I also made a font out of my modern calligraphy style and have printed it on thousands of envelopes with no issues.
If you want to be extra careful for the Post Office, you can do a combo of calligraphy for the names and block print for the address portion. That way, the USPS machines will be sure to be able to read the address, but the names are in a more fun script.
The biggest thing you need with addressing is just contrast. Ideally, you’ll have a light background with dark print, but white ink printing or white ink calligraphy are really popular on darker colored envelopes too. I haven’t had many issues with that, but I know some Post Offices advise against it, and other stationers have found worse luck with white ink.
USPS Wedding Invitation Rules
All of the above being said, the USPS does have addressing rules that do apply to wedding invitations. Here’s a look at the post office rules:
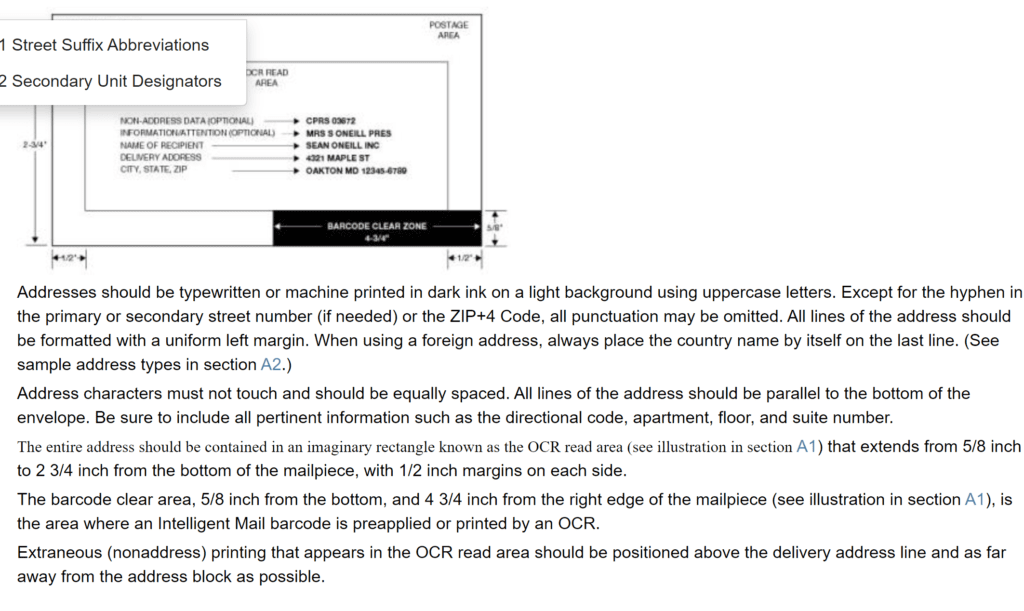
So yeah…this rules out diagonal or wavy or angled text (done it), white ink addressing (done it), putting the zip code on its own line (do it almost every time), lowercase letters (we’ve all done it), and a ton of other things.
These rules are for the ideal situation, and you can gauge your own comfort level with breaking them. For the record, mine is fairly high. I’ve had just as many issues with simple envelopes as I have with complex ones.
Return Address on Wedding Invitations
Where should your return address go on your wedding invitations? It will go in two places usually – the RSVP envelope, and the main envelope.
I generally keep the RSVP envelope pretty standard, but often use a monogram, design elements, etc. for the “names” line. On my own wedding invitations, we didn’t have names on our RSVP envelopes, and they were all fine.
For the main envelope, you generally put the return address on the flap side of your wedding envelopes. This is where problems can arise, because the machines might have the envelope upside down and read the return as the main address. If that happens, you’ll get everything returned to you – not what we want!
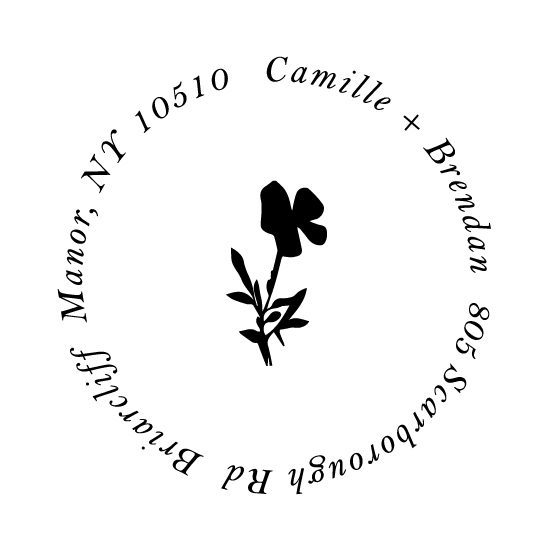
You can avoid this issue by making the return address as small and “out of the way” as possible. I put it up high on the flap, really small, and use as few lines as possible. So the apartment number goes on the same line as the main address, and the zip code goes on the city, state line. Bonus points for making it a unique shape (like this circle design) that definitely wouldn’t be mistaken for the main address.
Wedding Invitation Postage
When asking how to mail out wedding invitations, the most confusing factor is likely the postage. How much postage do wedding invitations need? There’s not a straight answer, but I’ll help get you started!
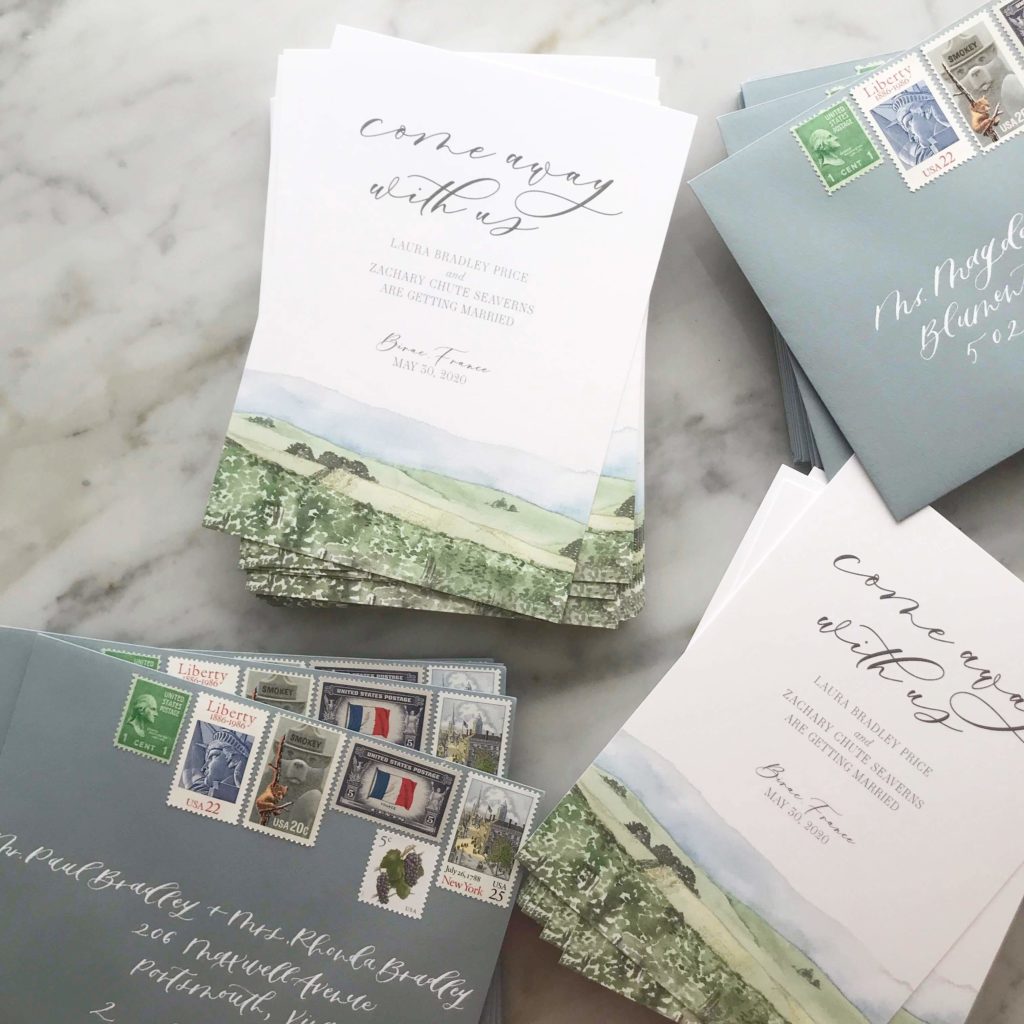
It’s important to note that all Post Office locations have slightly different scales and enforce “rules” in different ways. It’s a big organization, so if you’re not getting a clear answer – go to a different Post Office.
This also means it’s always good to get a second opinion from what your designer says from your local Post Office for your wedding invites. I could guesstimate your postage cost, but if the scale reads differently locally, then you may get a different number. But I’ll do my best for you here!
Wedding Invitation Postage Calculator
All numbers are as of 4/2/21
To Start: $0.55 (regular 1oz. rate)
Is your invitation oversized, square, or undersized? Does it have a wax seal, or bow inside that makes a “bump”? Add $0.20 (nonmachinable surcharge). Note: if you have 2 of these characteristics, you do not have to add $0.20 multiple times. One surcharge will work for all.
Does your invitation weigh more than 1oz? Add $0.20 per additional ounce. Note: If you have a nonmachinable surcharge AND extra weight, you will need to add $0.20 for both. A letter weighing 1.5oz with a wax seal will be $0.55 + $0.20 + $0.20.
Can your invitation bend slightly over the corner of a table? This establishes that it’s flexible enough to go letter rate instead of parcel rate. If your invitation is not flexible, you’ll need to go with a parcel rate (use this to calculate).
Invitation Postage Weight Tips
Standard Suite (1oz): Invitation + RSVP Card + RSVP Envelope + Envelope. This will generally run you one Forever or 1oz stamp ($0.55 right now).
You’ll most likely need an additional ounce postage ($0.20 right now) if you have:
- Additional insert cards (especially if you have more than 1)
- Double thick paper
- An envelope liner (could be okay depending on paper weight)
- Wax Seal
- Bow/Ribbon Wrap
- Pocket Invitation
- Invitation Wrap (paper belly band should be okay)
- Oversized cards
Hand-Cancelling Your Wedding Invites
You may have heard of “Hand-cancelling” your invitations to keep them looking a little nicer in the mail. What is hand-cancelling? This basically means that instead of a machine “cancelling” your stamps (marking them used), that process is done by hand.
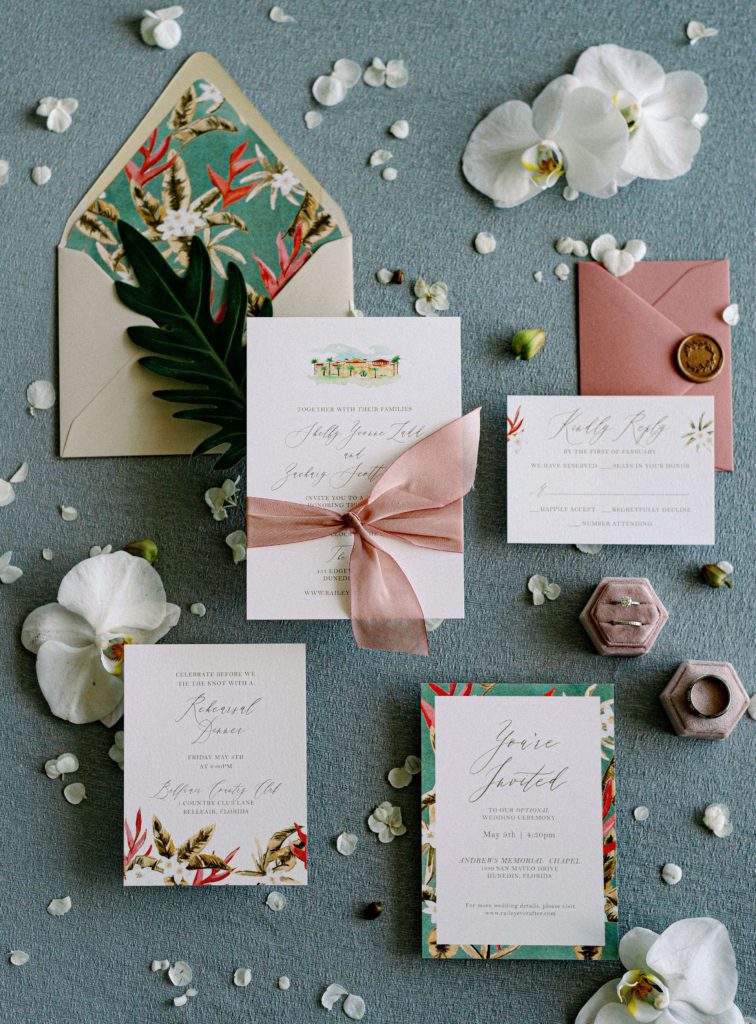
Generally, this is done with a physical rubber stamp by a postal worker. However, most Post Offices are not offering this service anymore. You may be able to find one that does, and some may allow you to use the stamp to cancel them yourselves.
Notably, if a post office tries to charge you for hand-cancelling, that isn’t correct. It shouldn’t cost more to hand-cancel, but policies vary across all Post Offices sometimes.
Also worth noting that hand-cancelling does not protect your invitations from all sorting machines. It just protects them from one, so it’s not guaranteed that your invitations will arrive in perfect condition even with hand-cancelling.
If you have a nice design on your invitations, or use vintage postage, you may want to check into hand-cancelling! Otherwise, you can still have good results even if you can’t find a PO location that lets you hand-cancel.
RSVP Card Postage Stamps
One thing some couples forget is the RSVP postage! You want to provide a stamp on your RSVP envelopes, so that your guests don’t have to find or go buy a stamp themselves. Plus, you can curate a pretty one that corresponds with your suite beautifully!
We will attach RSVP card postage for our clients free of charge, but do require that they order and send it to us.
Ordering Wedding Invitation Stamps
The weirdest thing about the USPS in my opinion is how long it takes to order stamps. They can take 10 business days (2 weeks!) to process your order before it even ships. This is strange to me, but worth making a note so you make sure to order your stamps in advance.
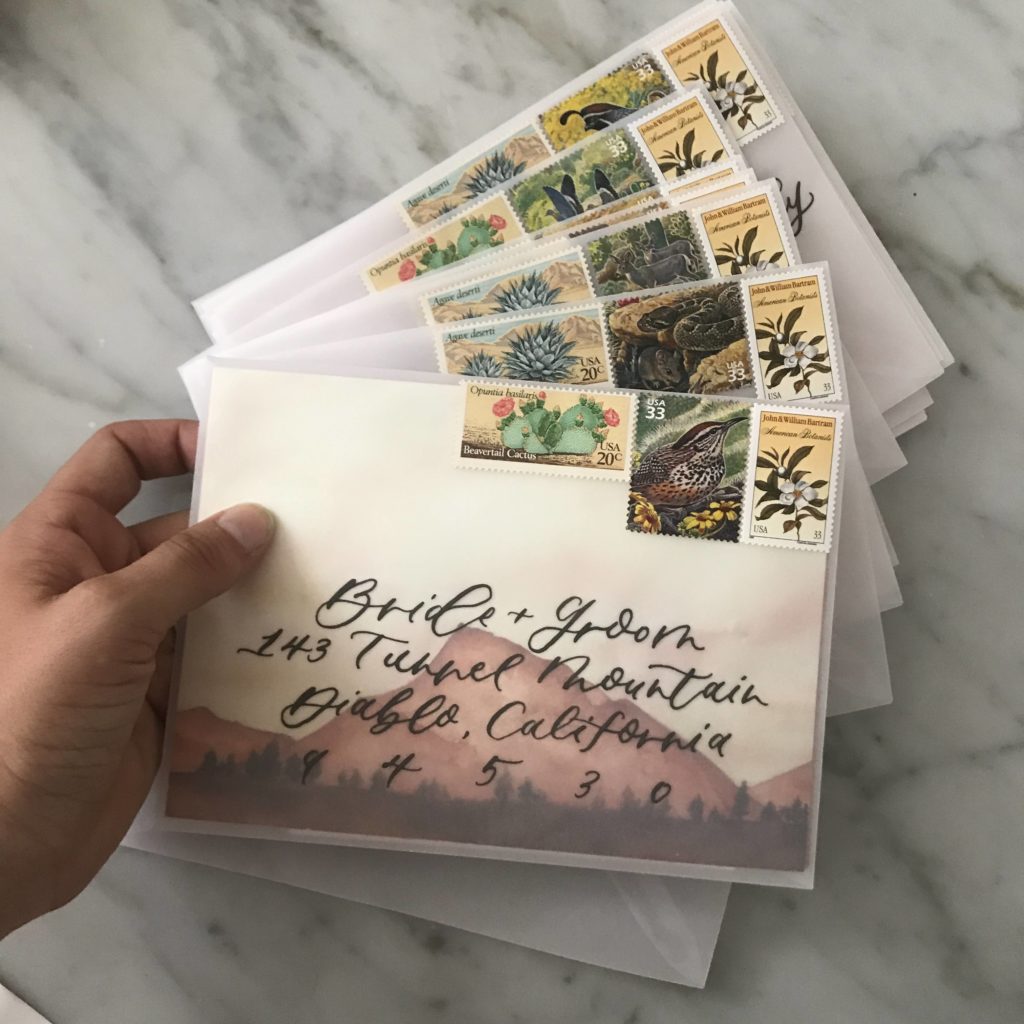
If you don’t order your postage stamps for your wedding invitations, then you’ll be stuck with what your local Post Office branches carry. Mine only carries a small quantity of stamps in any specific design, so it’s sometimes hard to get 100+ of the stamps that you want (if they have any at all!).
Vintage Postage for Wedding Invites
Vintage postage is a beautiful option for your wedding invitations! How does it work? You don’t need to provide any additional postage – so if your invites cost $0.55 to mail, then you can just curate $0.55 or more in vintage postage values.
All postage holds its value forever in the US (even those 0.5c stamps from way back when). There are also Forever stamps that are considered “vintage” now, because they’re out of general circulation. Forever stamps began in 2007, and will always hold the current value of a 1oz stamp. For right now, that’s $0.55, so a Forever stamp from 2007 currently still has $0.55 value.
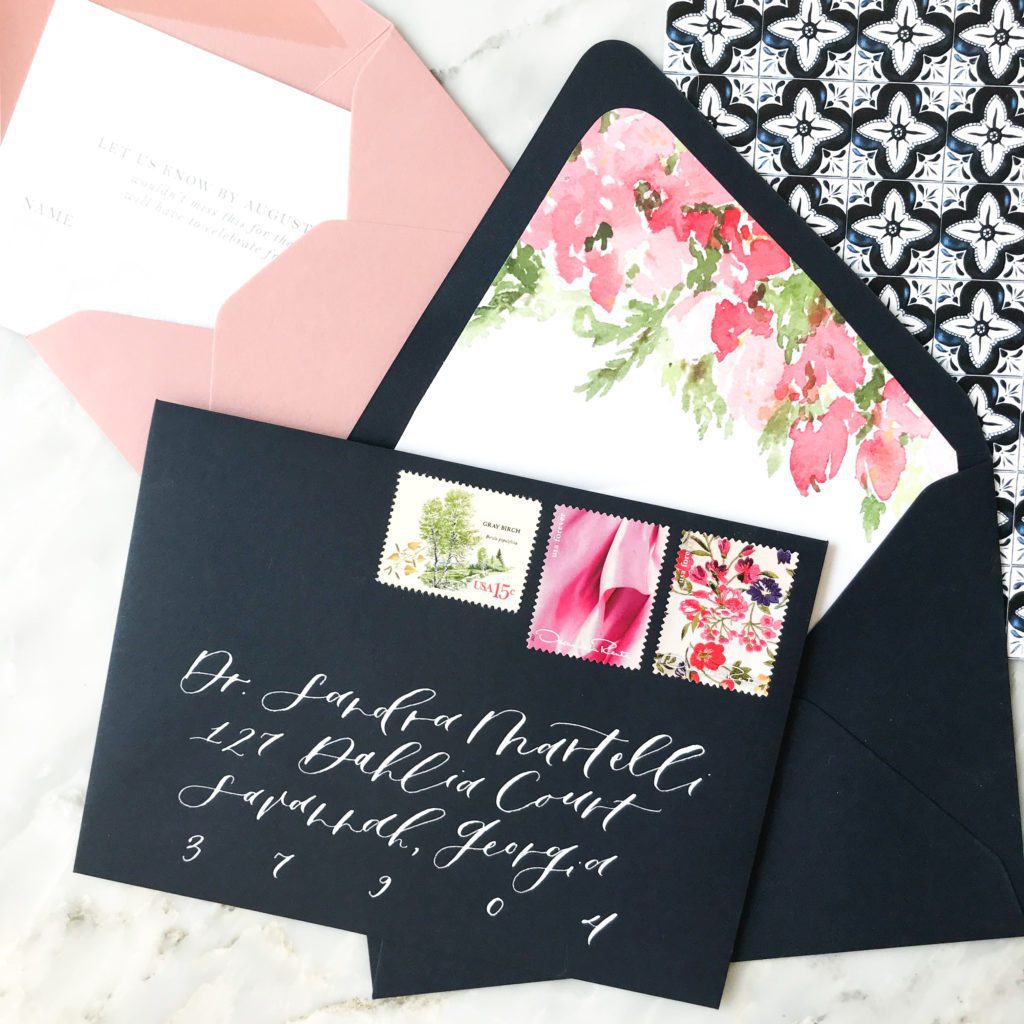
Most wedding invitations require at least an extra ounce charge, so they’re $0.75 or more. It can be tough (and costly) to get to that high of a number in vintage postage, so I love to combine a current Forever stamp with some smaller-value vintage postage to create a gorgeous look without breaking the bank.
Vintage postage will come at a premium though, because there is a limited number of vintage stamps that haven’t been used! It’s especially difficult to find 100 of the same stamp, so people charge extra for this service. Plan to pay ~3x the value (for a $1 set of vintage postage, you can expect to pay about $3).
Where to buy Vintage Postage? If you want to buy vintage postage, there are of sellers on Etsy who will help you source the postage, for a bit of a premium. For recent years’ Forever stamps, try Amazon!
This video will show you 4 ways to apply vintage postage – give yourself time as it can take a while and be somewhat messy!
Postcard Wedding Invitations
Postcard wedding invites seem like an awesome idea for things like Save the Dates. However, postcards really do get beat up in the mail. They might arrive to your guests torn or bent or otherwise banged up.
I recommend postcards for RSVP cards if you’d like that option. It still saves a bit on cost (lower RSVP postage and no second envelope), but your guests never see it after it goes through the mail. You’ll see it after it goes through the mail, but that’s okay!
Wedding Invitation Envelopes
Did you know your wedding invitation envelope shape can affect postage? That’s right! Anything outside of the “standard” USPS sizes can require extra postage costs. This includes a minimum and maximum size, as well as a typical width. From the Post Office:
“To be eligible for mailing at the price for letters, a piece must be:
- Rectangular
- At least 3-1/2 inches high x 5 inches long x 0.007 inch thick.
- No more than 6-1/8 inches high x 11-1/2 inches long x 1/4 inch thick.”
Most square wedding invitations are in 6.5×6.5″ envelopes, which would require an oversized surcharge because the height is greater than 6.25″.
The most common size we use is called A7 – the card is 5×7″ and the envelope is 5.25×7.25″. These would fit the requirements of a standard letter, but of course there are other factors that play into the postage cost like weight and thickness.
Can you mail envelopes with a Wax Seal?
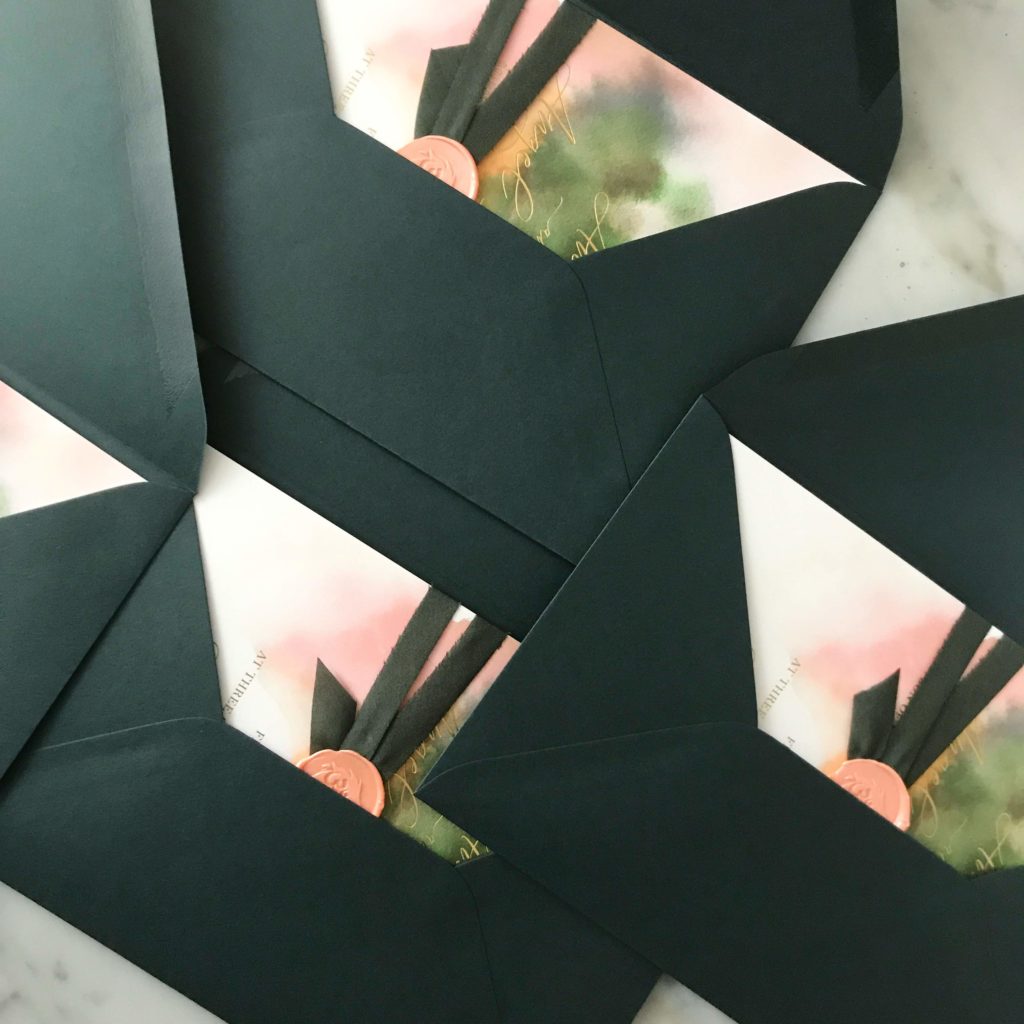
Speaking of thickness, yes! You can actually mail wedding invitations with a wax seal no problem. You can also mail invitations with wax seals inside the envelopes. You’ll want to keep two things in mind, though:
- A wax seal does affect postage. There will be an additional surcharge ($0.20 right now). This is because the wax seal itself is not machinable. It adds a certain thickness that requires hand sorting.
- You’ll want to either make the wax seals on the envelopes directly, or use the “permanent” adhesive if using wax seal stickers.
Learn all about Wax Seals here, including how to make them!
Can you mail Vellum Envelopes?
Translucent vellum has been really popular for wedding invitations lately. It even comes in envelopes! But can you mail invitations in vellum envelopes? This one is a bit riskier than something like a wax seal, but definitely can be done.
This suite was my own personal “Change the Date” when we postponed our wedding from 2020 to 2021. It was in a vellum envelope with some star-shaped confetti for guests to see in the envelope which is really fun! My brother didn’t like it, but hey…it could have been glitter!
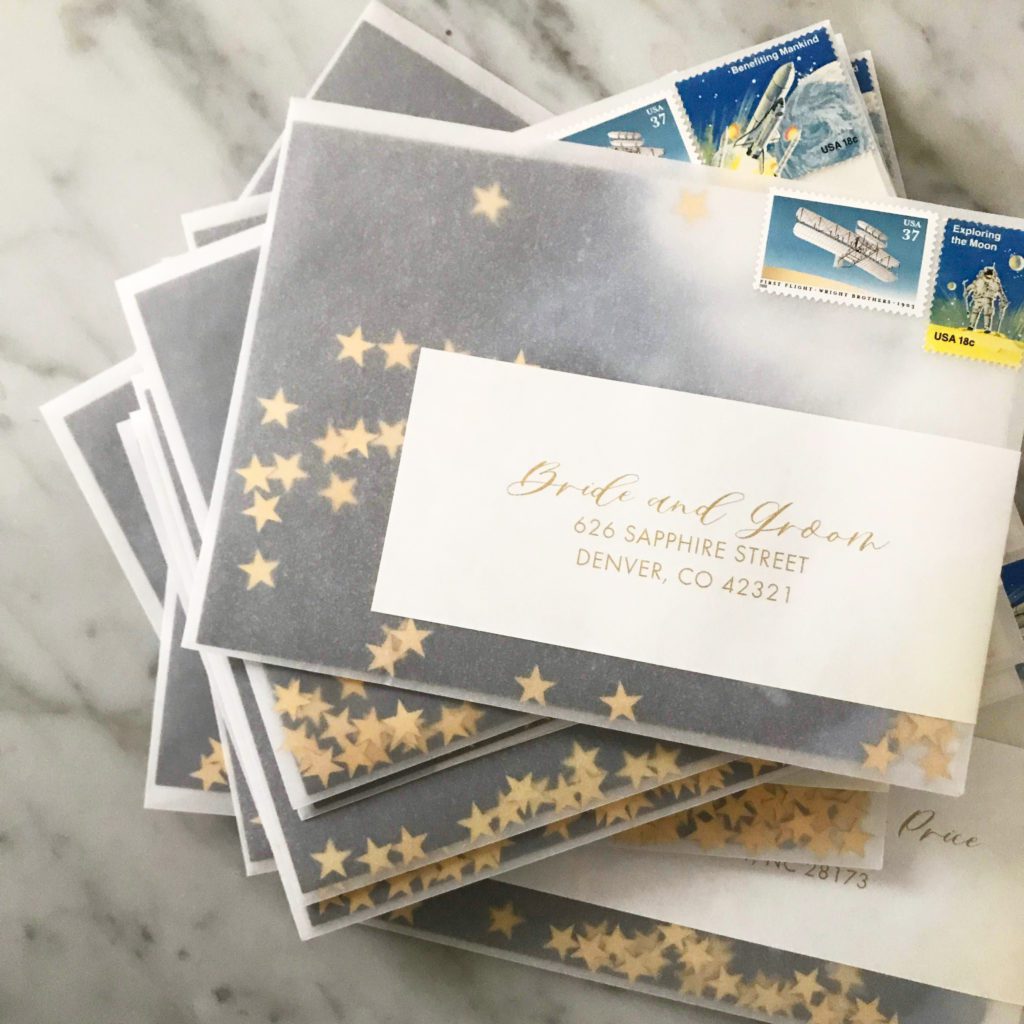
We had no issues with these envelopes, but as vellum is a little more brittle than other papers, it could potentially crack or break in the mail. I’ve mailed plenty for my clients though! If you’re more worried about mailing issues, I’d avoid the vellum envelopes, but we can always use vellum for your wedding invites in other ways inside the envelope! Contact me if you’d like more info on these euro flap vellum envelopes.
Can you put Wedding Invitations in a Mailbox?
Can we talk about actually how to mail wedding invitations now? Honestly, it seems like it should be more complex, but it’s generally not. You can just put them in the mailbox! If you want to hand-cancel them, or are suspicious of your mailbox or mail carrier – take them in. It never hurts to mail wedding invitations at the Post Office, especially if you need a confirmation on your postage amount.
If you’re not sure where to drop off wedding invitations, use this tool: https://tools.usps.com/find-location.htm
Wedding Invitations Lost in the Mail
What can you do if your invitations were lost in the mail? The USPS says that about 3% of mail gets lost, and that’s pretty remarkable! In my experience, some large mailings (like a full set of Christmas cards, or a set of wedding invitations) get stuck and almost all of them will get delayed.
If that’s the case, try to talk to the post office that they were mailed from and see if they’re stuck somewhere in that system. Otherwise, make sure you mail a little early so that if they do get stuck, they’ll still have time to arrive. During the busiest times (around the holidays), allow extra time.
Generally, batches of mail that get stuck do eventually get moving again, it can just take some time.
Also, your friends and family will definitely provide some incorrect addresses. You also may make some typos along the way. Everyone’s human, and there are a lot of details involved. There’s always a few that don’t make it to their final destination, so make sure you order about 10 extra invitations. Printing a couple extra is always a lot more expensive after the fact than just adding on some extra invitations up front.
If you’re really worried about delays, or on a tighter timeline, then follow the USPS rules more carefully. Don’t risk delays with white ink addressing, really swirly calligraphy, or crazy designs that might end up confusing the sorting machines. That’s the number one way for your invitations to get stuck!
Ultimately, mailing wedding invitations can be tough – but mostly just because you’ve never done it before! There’s nothing too difficult about it once you know what you’re doing. This is a huge reason I’d recommend working one on one with a designer, even if you’re not going the full custom invitation route.
Included in all my invitation suites is unlimited advice on color choices, fonts, envelope options, and design as well as helping you curate postage that’s going to be right for your invites!
How to Mail Wedding Invitations
Behind the scenes with your favorite Stationery Auntie Laney (and all the inside scoops!)
Not sure where you should start?
I gotchu
Just feeling it out?
Check out our 7 Day Invitation Design Crash Course!
Ready to Start?
Our signature beginner's course From Start to Suite is perfect for you! It's literally *everything* you'll need to get started as a stationer!
Ready to Scale?
Join Stationery School for continuing education with 100+ lessons and new ones released monthly!
[…] How to Mail Wedding Invitations – video coming soon (check out our Blog Post here!) […]
[…] Post Office to get sorted. PS – here’s a video on mailing wedding invites for you, and a blog post if you prefer […]