Magnolia Leaf Place Cards with Suite One Studio Ceramics
Everyone prepare yourselves for some dinner party amazingness! It turns out you don’t have to be hosting a wedding to have a gorgeous tablescape – I am the girl who can’t ever remember what side the spoon is supposed to go on, but as soon as I discovered Lindsay at Suite One Studio, I immediately started saving up to purchase some of her amazing dinnerware. Now I just need a giant house and a few more friends who can cook…but if you are lucky enough to have those things, then you don’t want to miss out on today’s DIY. We took our most saved photo on Pinterest and turned it into an easy step-by-step tutorial for you today (complete with beginner and advanced lettering tips so anyone can join in). So keep reading to learn how to make these amazing Gold-Dipped Magnolia Leaf Place Cards, and make sure you check out a wealth of other gorgeousness from Suite One Studio before your next dinner party (or you know, just a fancy Tuesday)!
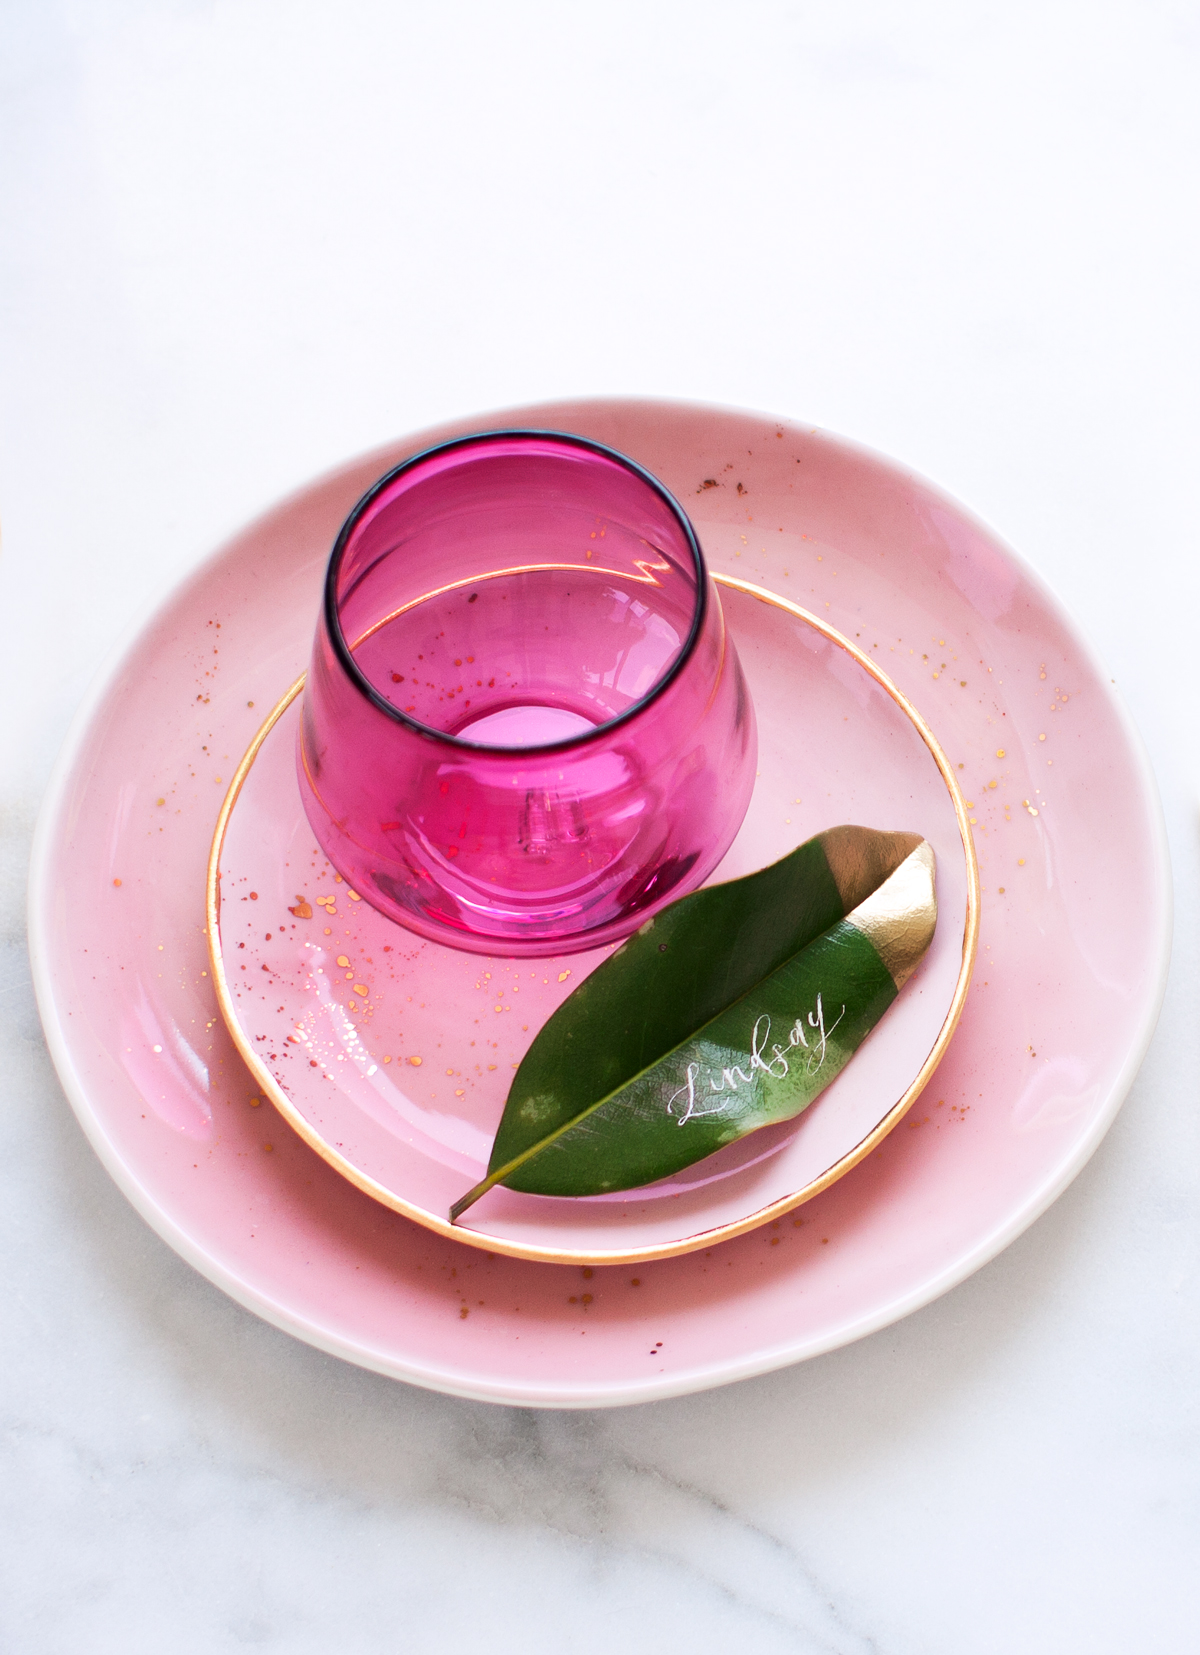
First off, a quick introduction. Lindsay from Suite One is a local Greensboro gal like myself, who started off making ceramic pieces in her dining room. She has since upgraded, you could say, into a 3-woman operation, and you can even find her pieces at Anthropologie! Recently she opened up the most perfect studio in town, and I was so lucky to explore it during this tutorial and see everything in action. She restocks all her pieces on Tuesdays (if you read this early you may be able to catch some of this week’s) and is constantly sharing her behind the scenes process on Instagram if you want to see how the magic happens.
We documented the entire process of creating these place cards and then mix and matched them with all of her pieces (and even some napkins she designed herself!). I wanted it to be simple for everyone, so I included 3 different writing options, depending on your comfort level with calligraphy. Not into cursive? This project could take on a modern edge with the names written in simple, narrow, all caps.
Magnolia Leaf Place Card Supplies
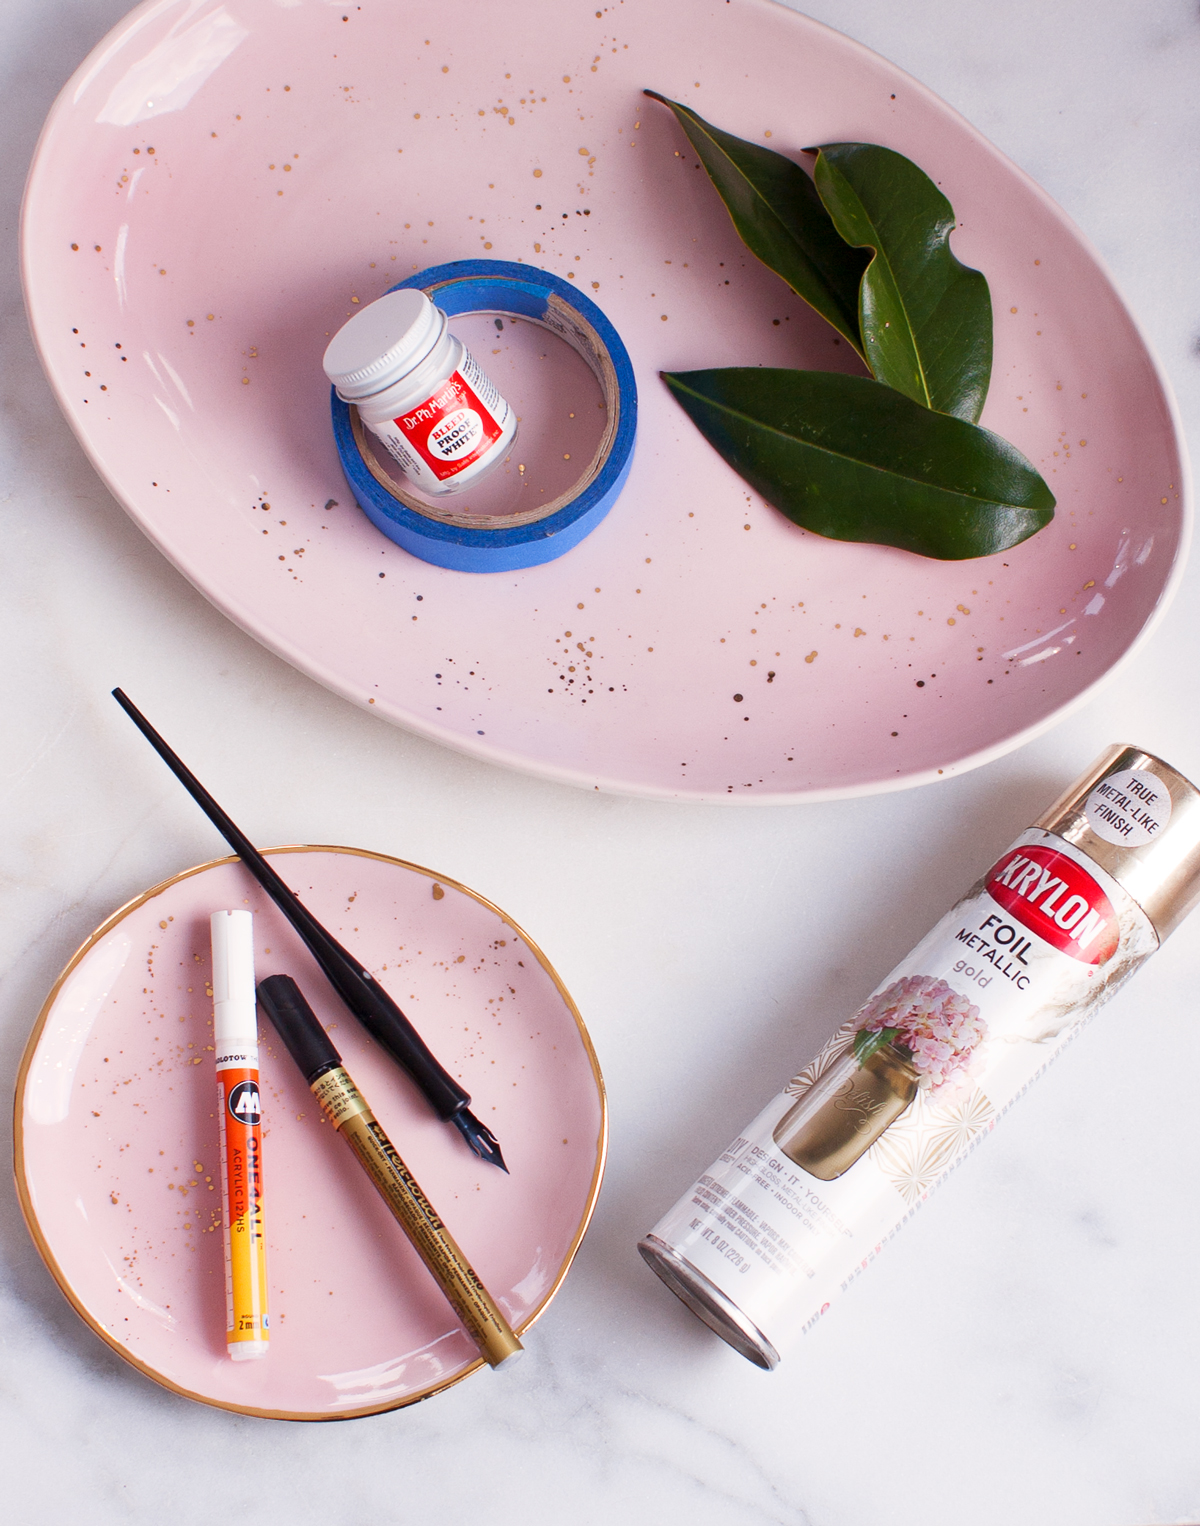
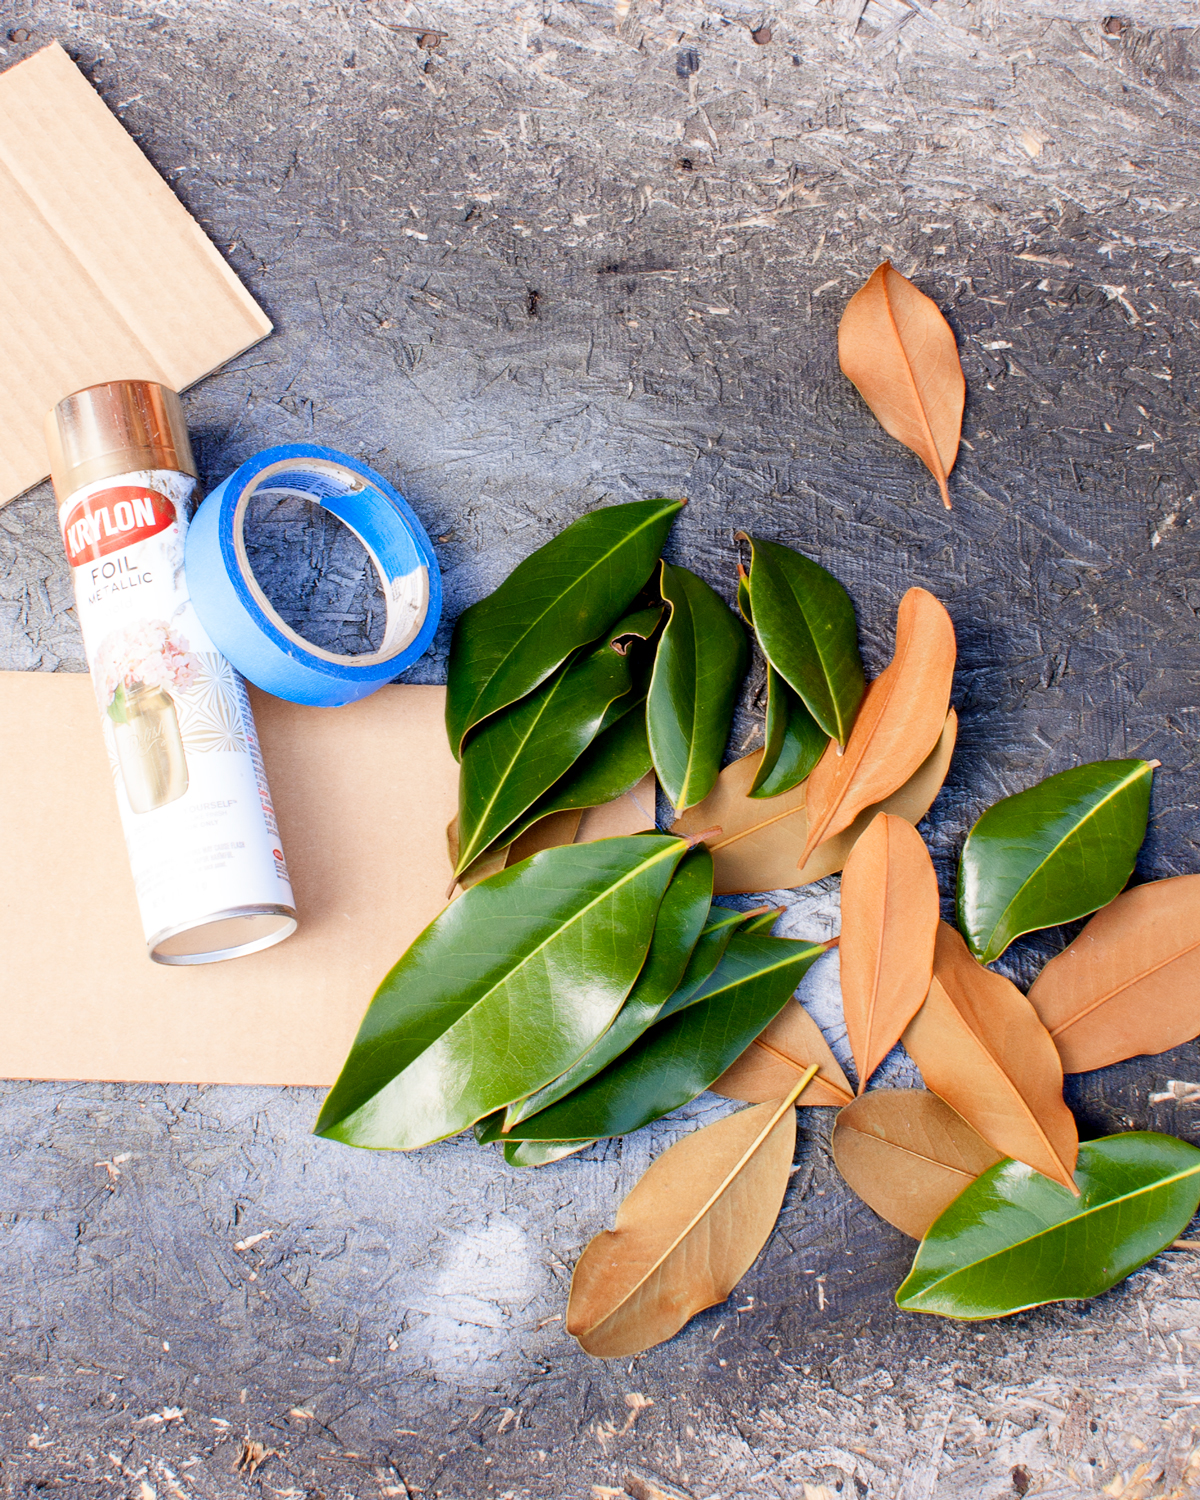
Krylon Gold Foil Metallic Spray Paint
Magnolia Leaves (We used freshly picked leaves but here’s a link for Preserved Magnolia Leaves on amazon if you’re not able to track these down in nature where you live.)
Writing Tool Options
Molotow Paint Pen: Beginner approved! We used the 2 mm tip.
Pen-Touch Gold Pen: Beginner approved! We used the .7 mm extra fine tip.
Calligraphy Supplies: The nibs can be a little more challenging but the final true Calligraphy look speaks for itself!
- Nib: We used this Brause Blue Pumpkin Nib (bonus it’s a 3 pack!)
- Nib holder
- Dr. Ph. Martin’s Bleedproof White Ink
How To Make The Place Cards

1) Tape The Leaves
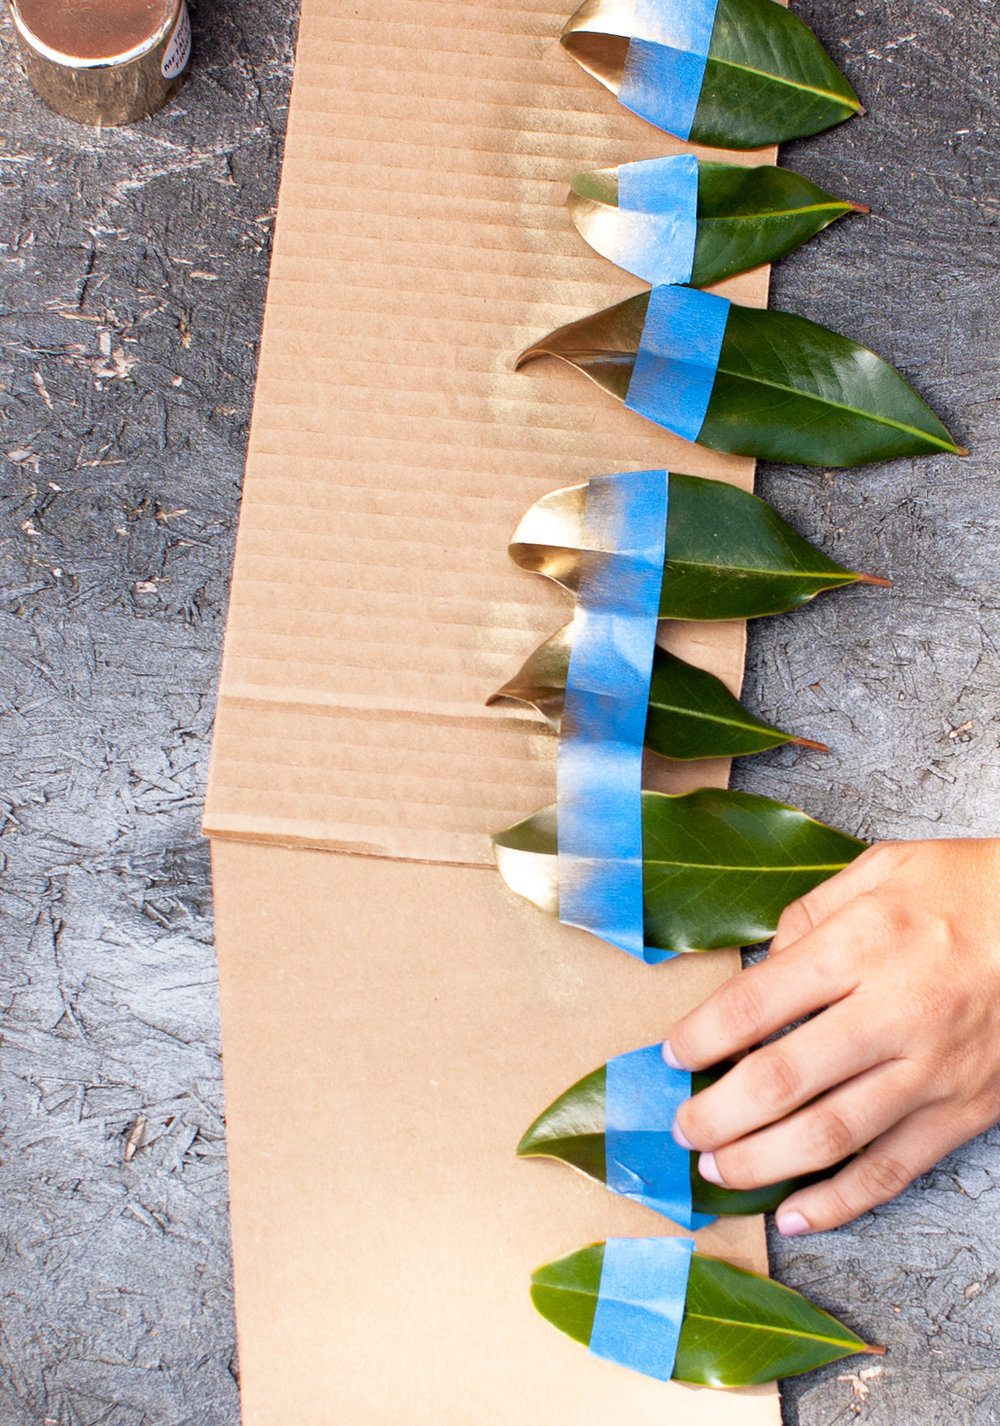
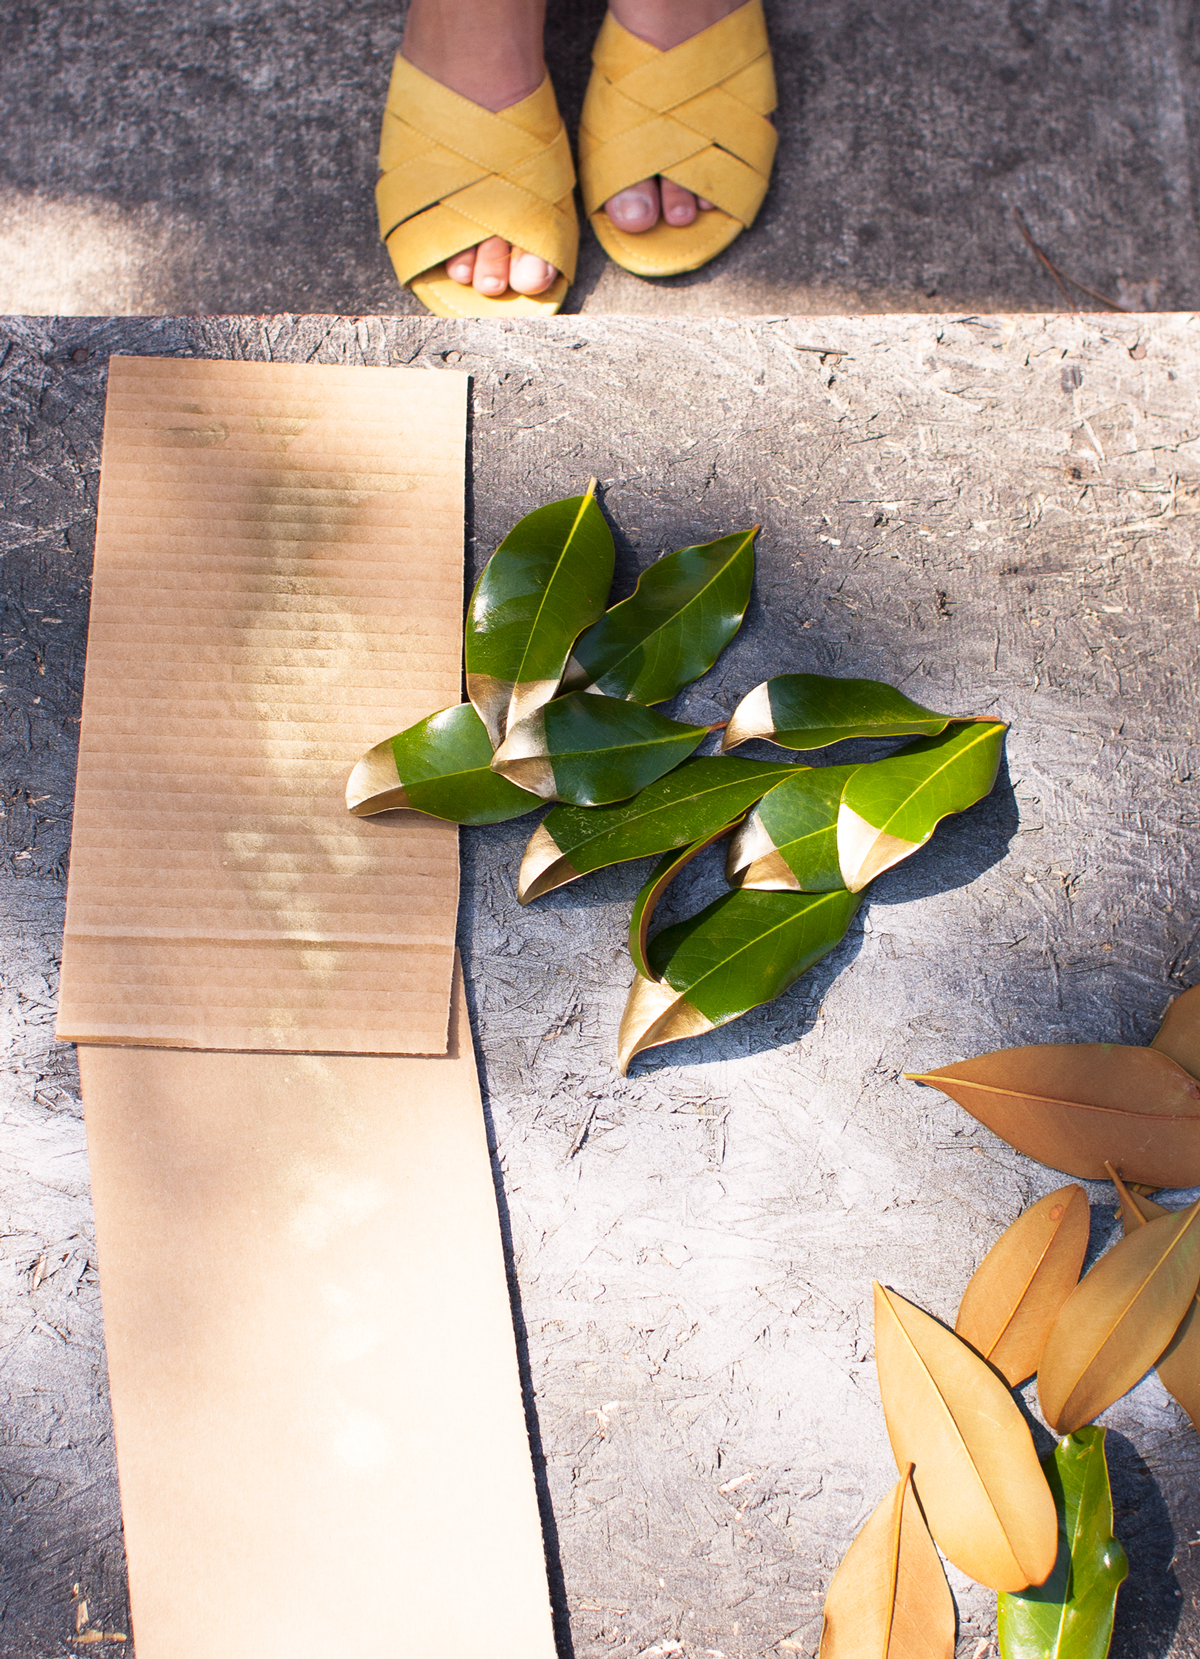
Lay your magnolia leaves out on a drop cloth or other painting surface. Use your painter’s tape to tape off about 1” from the tip of the leaf. Vary the distance based on the size of the leaf and how long your names are! Because the leaves aren’t flat, this part is where you want to be careful – use a bone folder or your fingernails to make sure you get tape right into the seam so the paint won’t leak. If you are worried about spraying the uncovered part of the leaf, just put a piece of paper under the tape so it covers up the rest of the leaf during painting.
2) Spray The Leaves
Lightly spray the tips of the leaves for your gold-dipped look! This spray paint is very shiny so you don’t need to coat it heavily to get a gorgeous effect – hold the can a few inches away from the leaves to avoid any blobbing. Tip: If you hold the can toward the tape and spray toward the tip you reduce the risk of any paint getting underneath the tape.
3) Let The Leaves Dry
Give them about 30 minutes to dry before carefully removing your tape – and voila! Gold-dipped leaves! Now comes the fun part…
4) Personalize
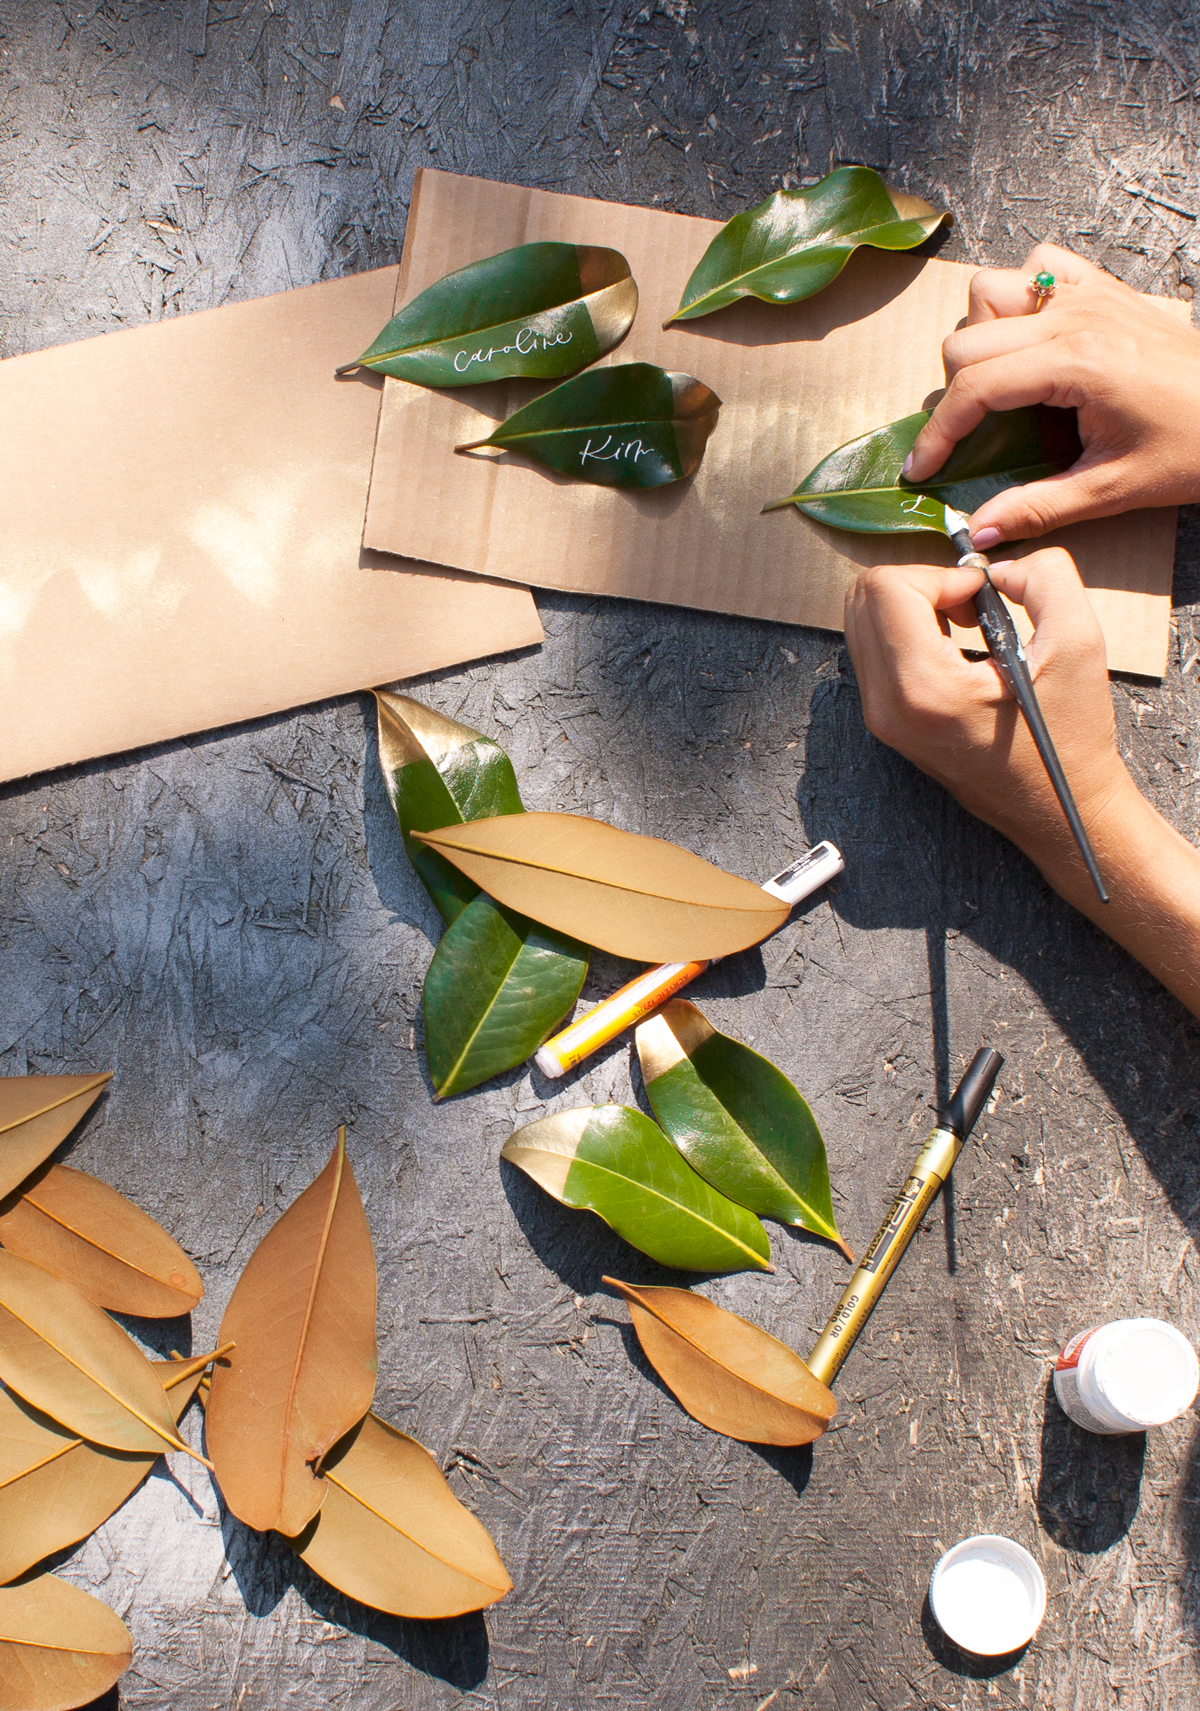
We wanted to show that you can make these gorgeous place cards with any tools that you are comfortable with! We tried out a bunch of paint pens and found our two favorites were the Molotow and the Pen-Touch, but you can use pretty much any paint pen that is acrylic-based (read, not oil-based). Leaves aren’t totally flat, so press them as flat as possible while writing for the best results!
- Molotow Paint Pen: this is a larger tipped pen and looked great on some of our larger leaves. The Molotow comes in a huge variety of colors and tip widths though, so you can use whatever colors fit your event!
- Pen-Touch Gold Pen: This is my favorite of all paint pens, and this gold is extra shiny and permanent. It writes very smoothly, too, so just take your time and don’t press down too hard into the leaf.
- Calligraphy Supplies: If you’re up for the challenge (or you’re already comfortable with calligraphy) this will definitely add a special touch to your place settings! We used our absolute favorite nib, the Brause Blue Pumpkin, which is ideal for a surface like this. You’ll want to avoid EF or sharper nibs, as those can scratch the leaves and cause them to start browning quicker. We used a thick mix of Dr. PH Martin’s Bleedproof White ink, which is an acrylic-based white ink that we love. Mixing it a little thicker than normal helps you get an opaque line that doesn’t pool.
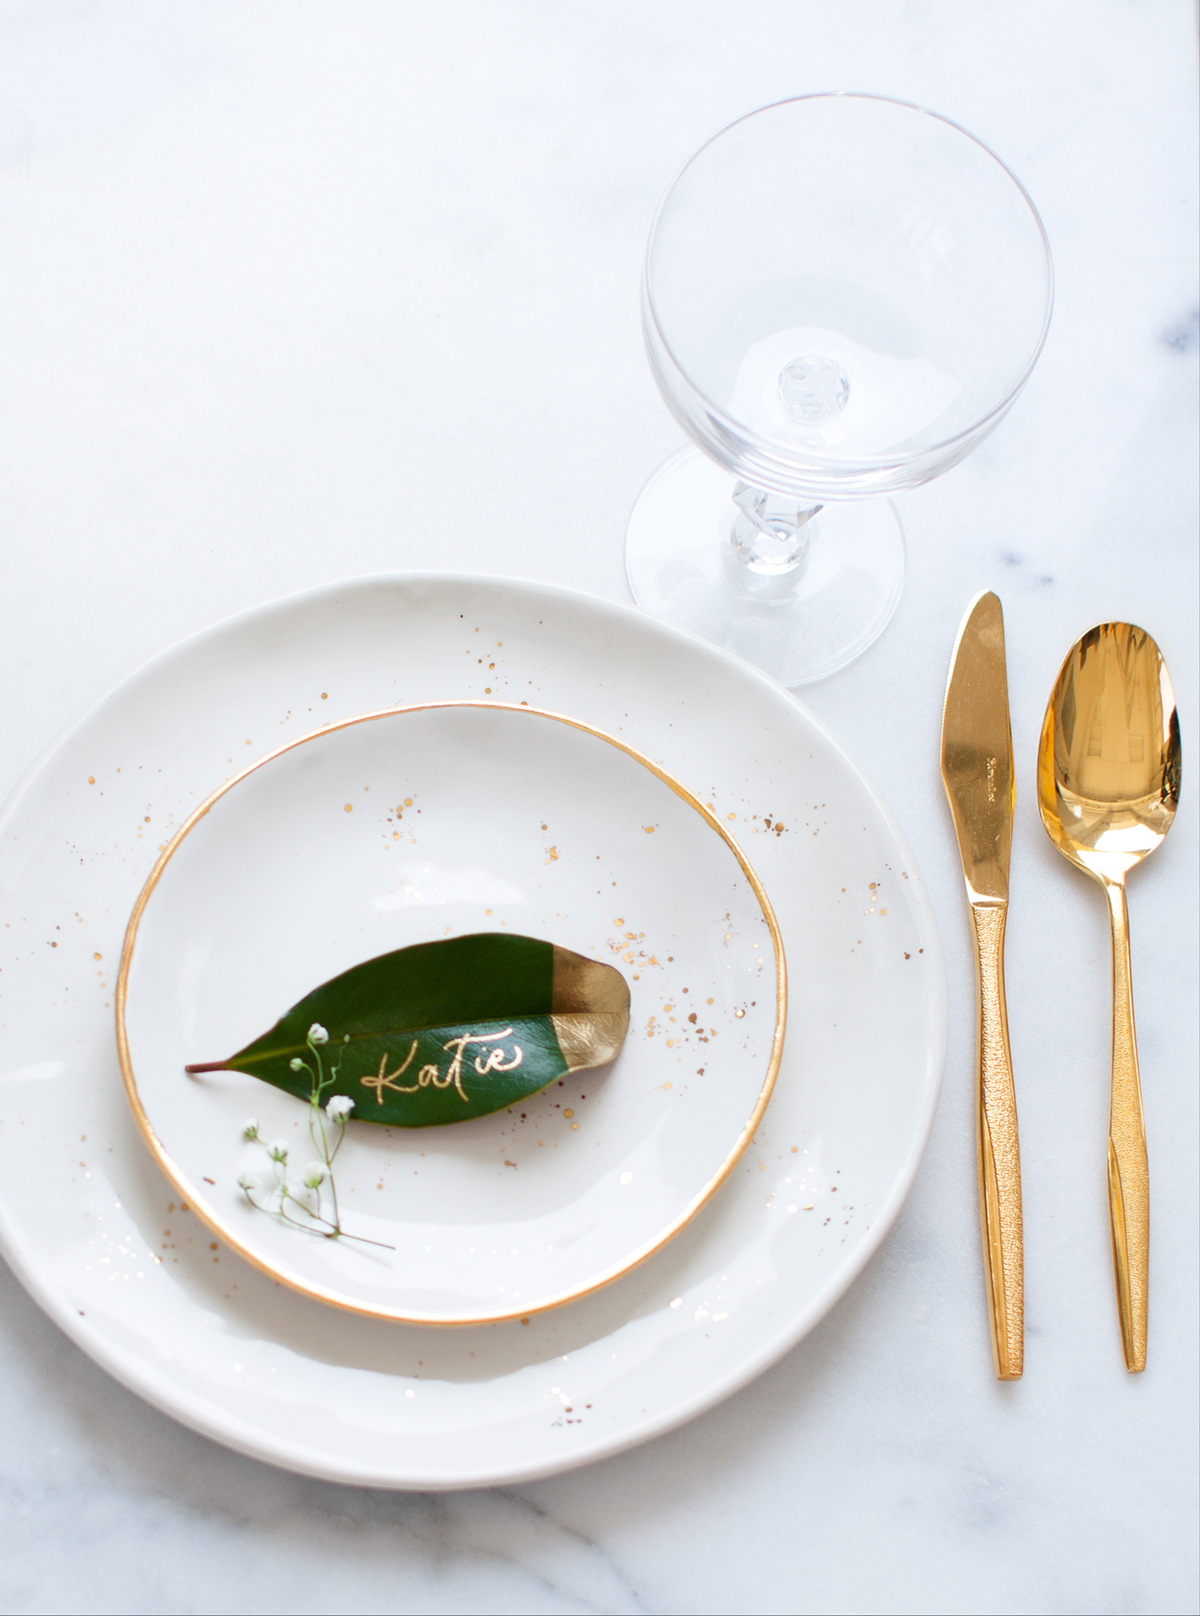
If you’re using freshly picked leaves you’ll want to use the leaves within a day or two of picking them, as they can start wrinkling or browning. Remember that these are a natural product, so no two will be alike – this is what makes them so special, but also makes them slightly more tricky to work with! Pick around 50% extra, and take your time to ensure the best results.
A big thank you to Lindsay for inviting us over to play and create together (as well as all the gorgeous pictures)!
We’d love to see how you bring this project to life! Be sure to tag us on social media to show us what you made! Laney: @designbylaney Lindsay: @suiteonestudio
Hey, Hi, Hello!
Hi, I'm Laney!
Shop Wedding Invites
Business Resources
Watch on YouTube
I make wedding invitations and I teach artists how to work smarter, make money, and run a business that works for you.