Affilate Marketing
All Things Printing
Business Resources
CRMs and Systems
Marketing
Tips & Tricks
Hi, I'm Laney!
I make wedding invitations and I teach artists how to work smarter, make money, and run a business that works for you.
We'd love to have you join us - signup for our email list to get DBL updates, stationery design tricks, business tips and more!
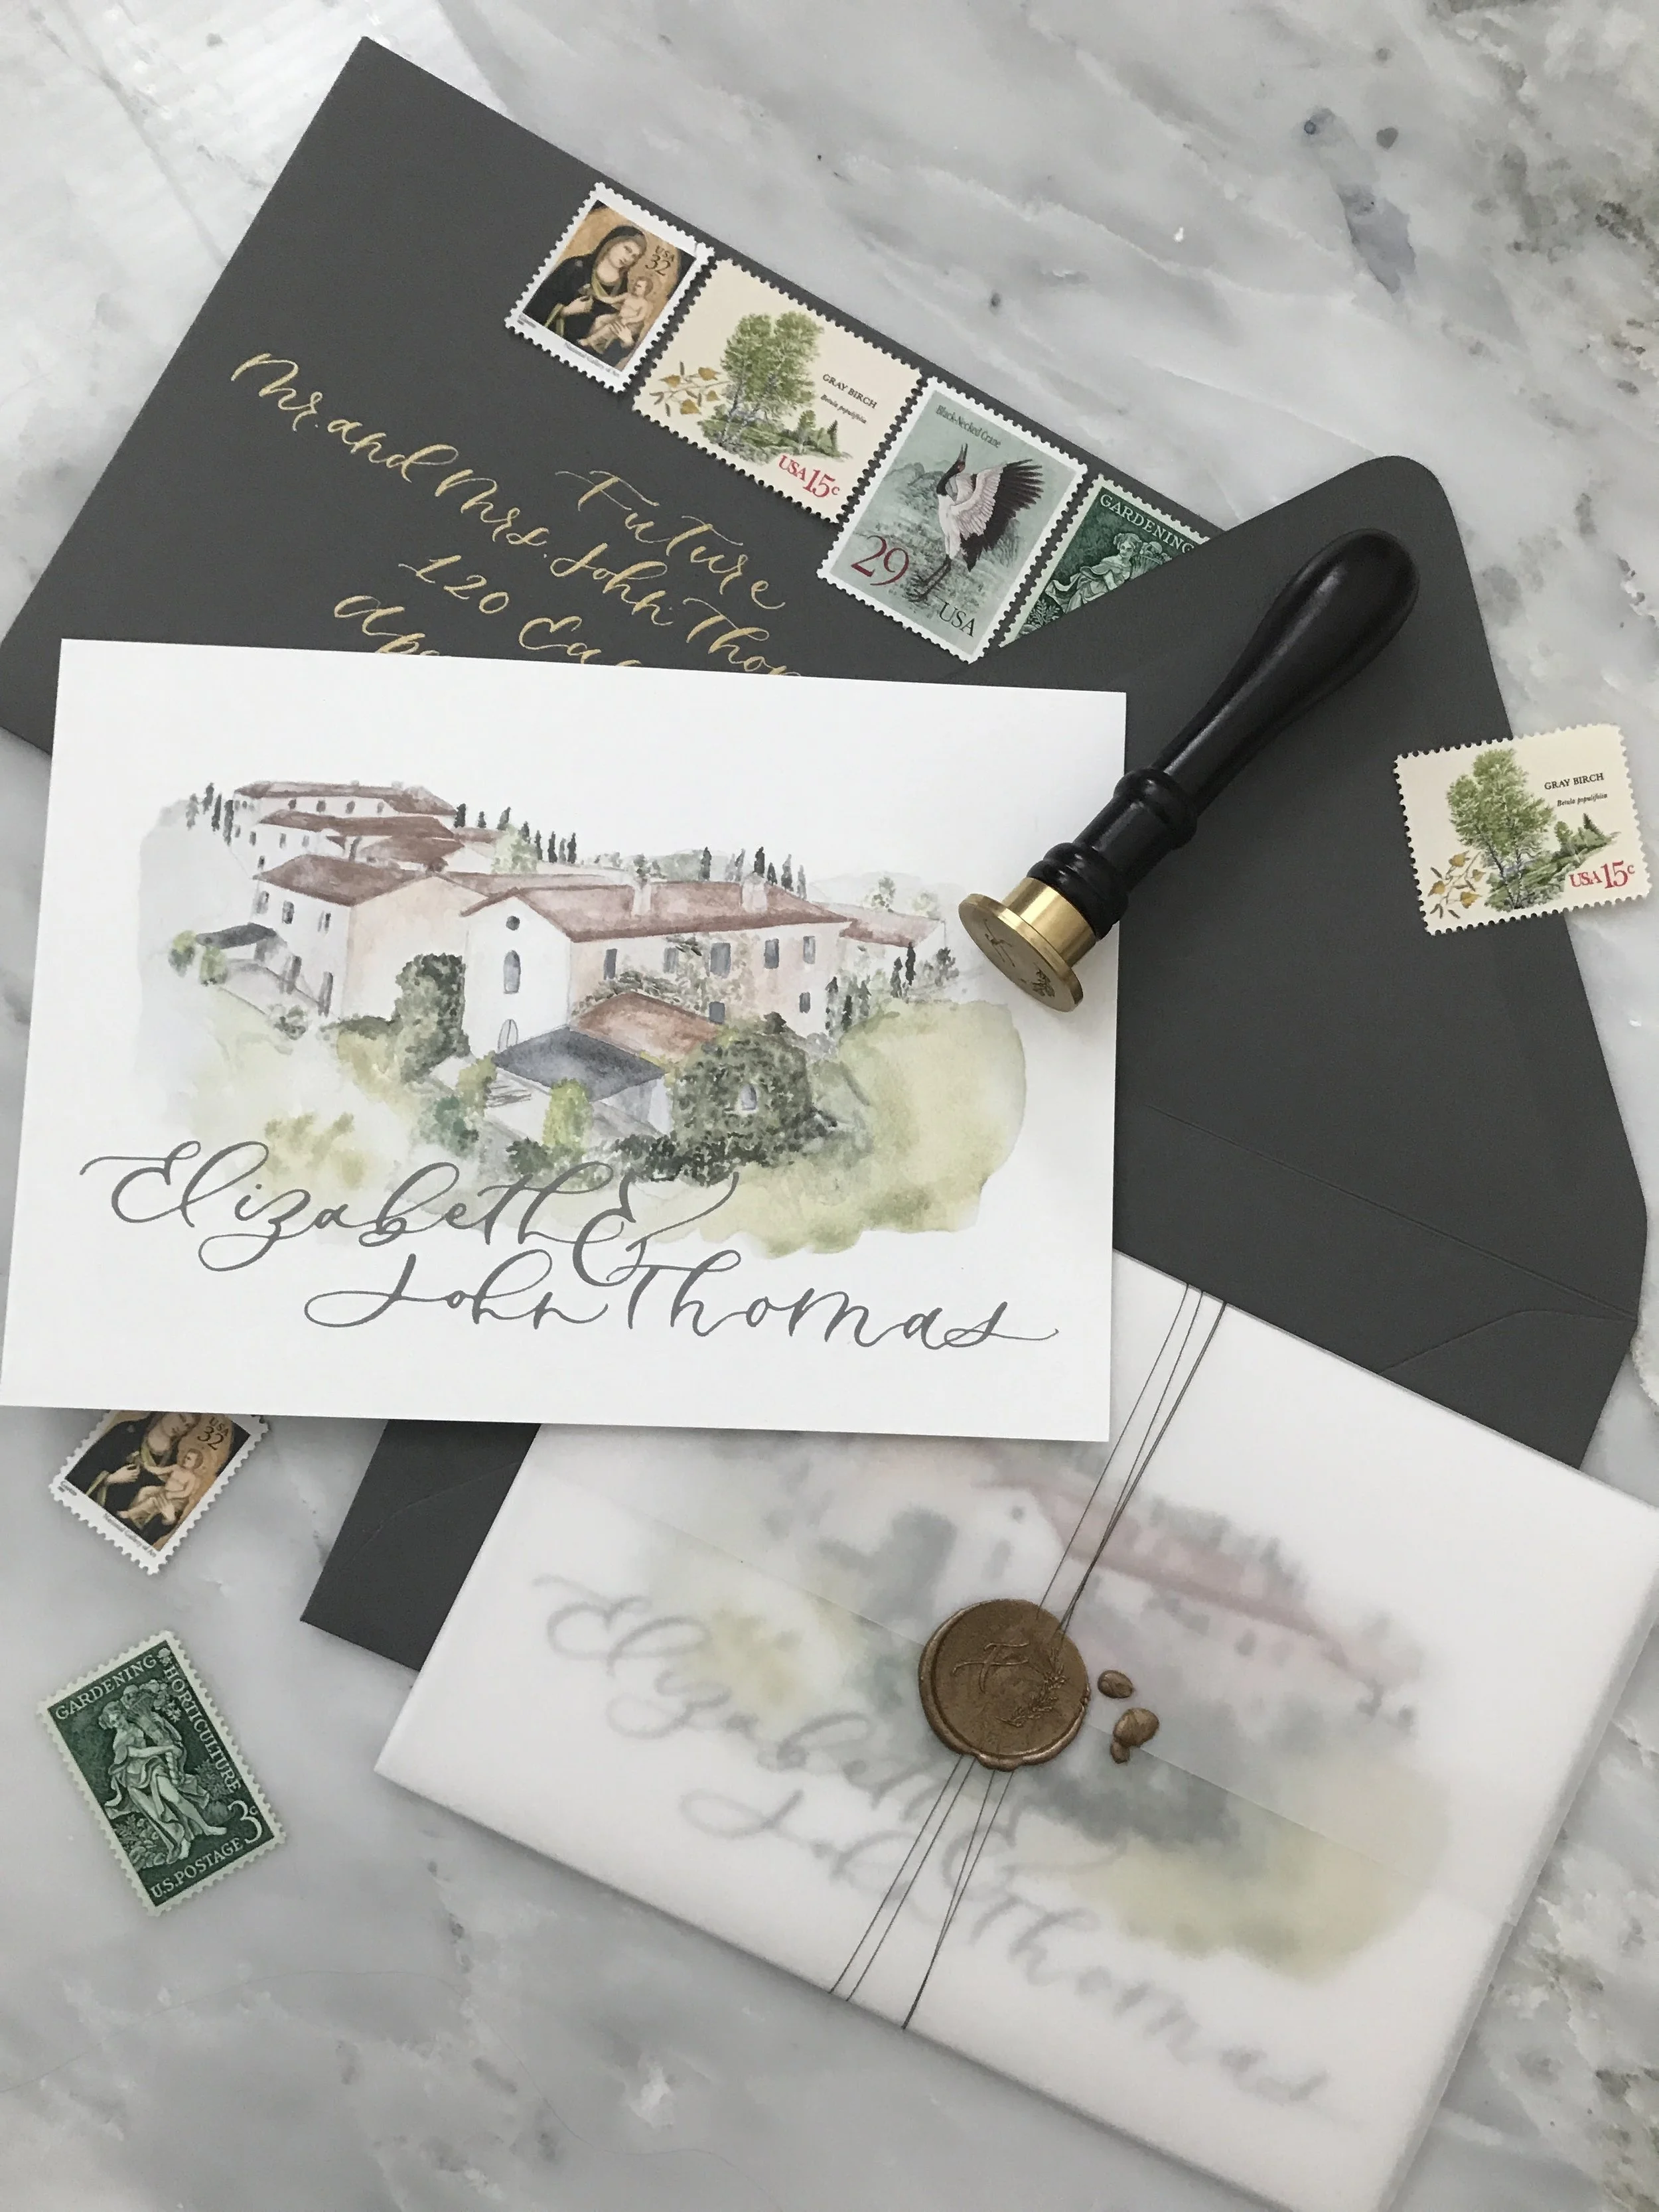
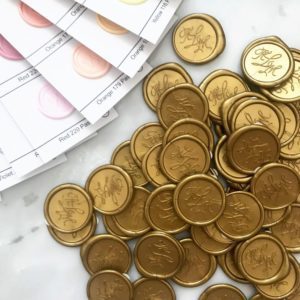 Wax seals are basically icing on top of a gorgeous wedding invitation cake. I mean, if that icing is shiny and perfect, and somehow modern chic and organic vintage all at the same time. They’re our most requested upgrade, by far, and the piece that every one of my Holiday Card recipients gushes over (so that’s gotta mean something, right?). Today, we’ll walk you through the world of wax seals, how to make wax seals, where to find them, how to mail wax seals, and how to make the most of them on your wedding stationery.
If you want to know more about seals, ties, wraps, and all kinds of Wedding Invitation Assembly tips and tricks please grab our Wedding Invitation Assembly Guide! It covers everything from how to charge for assembly to where to source vintage postage (it’s 95 pages of awesomeness!). We’ve also got a free 7 Day Invitation Design Crash Course if you’re new here – over 1,500 of you have taken it!
What are Wax Seals?
I am assuming you know this, already, right? A wax seal is a metal stamper that you press into melted wax, to create an impression. Historically, they were used to seal envelopes. If the invitation seal wasn’t broken, then that was proof that your mail hadn’t been tampered with. Today, they’re still used to seal things, but the secrecy is less of an issue. You can create wax seals out of custom designs, or find pre-designed ones in a bunch of different places. Artisaire is our favorite, but there’s also Get Marked, Nostalgic Impressions, Etsy, and Amazon, to name a few.
Mailing Wax Seals
Can you mail wax seals? Can you mail invitations with wax seals? Absolutely! I do it all the time.
You’ll have to add a “nonmachinable surcharge” for a wedding invitation with a wax seal. This is because the bump created by the seal can’t go through the machines that the Post Office uses to read the envelopes (read a lot more on mailing wedding invitations here).
That charge is currently $0.15, so it’s not a deal-breaker usually! Otherwise mailing them is a breeze. If you use adhesive wax seal stickers, pay attention to the adhesive type. You’ll want heavy duty adhesive if they go on the outside of the envelope. If they’re on the inside, you can go with lighter/resealable adhesive.
Making Wax Seals
There are 3 main ways to make wax seals:
-
The Old-Fashioned Way: Melting wax over a flame into a special spoon, then dumping it onto your surface and pressing the seal into it. This wax usually comes with a wick already inside it to make it simpler. However, this process is still quite messy and time-consuming. It’s best for mixing colors or small quantities.
-
The Glue Gun Way: This is our favorite way – get a low heat glue gun from a craft store (ours is here), and use that to direct your glue a little easier. You’ll need specially-shaped glue gun wax that doesn’t have a wick, and fits correctly into the gun.
-
Don’t Make them At All: You can actually buy pre-made self-adhesive wax seals here, in custom or standard designs. These are awesome for any flat surface, like the outside of an envelope or the top of an escort card. I wouldn’t use them to seal things with lots of texture, like string or ribbon, because I prefer the organic nature of the wax seeping down into the ribbon. The pre-made seals are available in multiple edge types as well as multiple levels of adhesive strength.
DIY Wax Seals
Making wax seals can be tricky at first, but we have a few tips that will help make this process simpler on you!

-
Drying Space: You’ll need to let the seals dry, so make sure you have space to lay out all of your pieces around you. I use a drying rack (you could use an old CD stand from a thrift store).
-
The Ice Pack Trick: Keeping your metal seal cool is key to making quick, defined wax seals. An insider trick is to place your seal on an ice pack between uses.
-
Keep it Dry too! Use a paper towel after it comes off the ice pack to make sure no water droplets get into your seal.
-
Parchment Paper is a great surface to make wax seals on, as they’re easily removable after drying. Make a bunch of seals at a time on parchment paper, and then glue them on. Need to seal string or ribbon on your invites, but don’t want the wax sticking to the paper underneath? A little swatch of parchment paper will do the trick, and you can remove it easily after the seal is dry!
-
Use quality wax. We get all our wax from Artisaire, but we’ve definitely worked with crappy wax in the past. It can gunk up your glue gun or your metal seal, and make seals look sloppy, so don’t skimp on the wax!
-
Don’t Touch it! It’s sooo tempting to touch them before they’re dry. But don’t. If you keep your seal cold enough, they’ll dry fairly quickly, so use only the handle of the seal to remove it (not your fingers).
-
Washi Tape or Sharpies. Great tools for marking your seal. If we have a design that needs to be facing a certain direction, we always mark the top center for easier alignment.
-
Print a dot. If you’re sealing in a specific place (for instance, on the top of menus!), we like to add a tiny dot in that spot when printing. This way you have a reference guide for the seal.
Wax Sealing with Objects…
The list of things we will try wax sealing to paper is basically a list of everything smaller than that piece of paper. I absolutely love sealing paper to paper, greenery, flowers, glitter, feathers, etc. Basically anything that can be sealed, I will try to seal. It can be bumpy, so try to stick with flat things mostly, and a verrry simple or abstract seal design, as the design will be affected by the bumps.

Use Them Anywhere
Don’t just use your wax seals on the outside of your envelopes! Just cause Ben Franklin did it, doesn’t mean it’s the only way to do things. It’s popular to use seals to close a wrap or belly band (if those words mean nothing to you, check out last week’s post about Wraps!). You can also use them at the top of menus, escort cards, or even on a random insert card or map.
You can wax seal your favor boxes, gift tags, or even your bouquet ribbon itself!
Let us know how you feel about wax seals in the comments – are you PRO or NO on wax seals? I am fairly sure I’ll never see the day when a wax seal doesn’t entice me! Hopefully these tips have made the wax sealing process easier for you if you’re planning to DIY. Of course, you can always ask your invitation designer to create them for you – or check out the pre-designed collections at Artisaire!
Wax Seals for Wedding Invitations
Behind the scenes with your favorite Stationery Auntie Laney (and all the inside scoops!)
Not sure where you should start?
I gotchu
Just feeling it out?
Check out our 7 Day Invitation Design Crash Course!
Ready to Start?
Our signature beginner's course From Start to Suite is perfect for you! It's literally *everything* you'll need to get started as a stationer!
Ready to Scale?
Join Stationery School for continuing education with 100+ lessons and new ones released monthly!
