Affilate Marketing
All Things Printing
Business Resources
CRMs and Systems
Marketing
Tips & Tricks
Hi, I'm Laney!
I make wedding invitations and I teach artists how to work smarter, make money, and run a business that works for you.
We'd love to have you join us - signup for our email list to get DBL updates, stationery design tricks, business tips and more!
How I Stay Organized as a Stationery Designer
It’s Q1, so that means a lot of us are prepping and planning for the year. One thing you might be focusing on is organization – how do you stay organized as an entrepreneur? And especially – how do you stay organized as a graphic designer?
Today, I’ll share my tips and tricks for staying organized as a stationery designer, in three ways: physically, digitally, and mentally.
There are occasionally affiliate links used in this post, which will allow me to make a small commission if you purchase a product. These recommendations are all 100% authentic and come at no additional cost to you. Thanks for supporting our ability to provide blogs and videos for you!
Tips for Organizing Your Business
A few of my overarching tips to keep in mind when organizing:
Put things where you need them.
I have an entire desk for invitation assembly, so I keep all of my assembly supplies in a cabinet right above that desk. I keep extra printer ink and paper near my printers. I keep desk accessories in my desk drawers.
Order things by Proximity.
Basically, put the things you use most closest to you. If you mostly sit at your desk – use that valuable desk drawer space for the things you use most often, and toss the things you only use a couple times a year in that cramped closet shelving. Put files you don’t need anymore on an external drive, so they’re not cluttering up your computer space.
Utilize Dropzones.
You don’t have to be fully organized at all times. Mail and documents are the best example of this – some things need to be filed, but no action needs to be taken. Some things need immediate action. Some things need action…in a little while. Utilizing drop zones allows you to immediately sort your documents by purpose, without having to drop your current focus to take action on everything right now.
Cull Ruthlessly.
There is no need to save every single file you’ve ever used. There is no need to save 56 extra prints that your printer made of an invitation suite from 2013. Be honest about the things you might actually use again, and don’t hold onto every ribbon scrap you’ve ever collected.
Be Creative.
When you’re getting rid of things, be creative in the possibilities for re-use. I’ve donated paper scraps to local schools, shredded them and used them as packing fill, and also used misprinted envelopes to send out samples (with a label over the misprint, of course!). So keep an open mind about the potential uses of your unwanted goods.
How to Organize Your Stationery Business: Physically
When it comes to physical organization, keep in mind the principles of proximity and use case. For this reason, you’ll want to put anything you use often in close proximity to where you actually use it.
My desk drawer has all the cables, drives, and chargers I need for various tech. My printer is on a cabinet that contains extra ink and paper. My glues, tapes, ribbons, wax seal supplies, etc. are all in cabinets above the desk where I complete invitation assembly.
Organizing Client Work
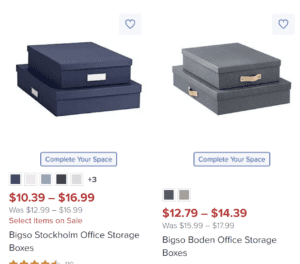
As pieces for a certain client come in, I put them in these boxes, or on this shelf. This unit has moveable shelves, so I move them up and down depending on how much space I need. I use these “Document Boxes” from The Container Store for smaller orders – here’s a similar set on Amazon. This serves as a dropzone of sorts for each client, so I don’t have to clutter up my space with a bunch of different prints, ribbons, and other supplies.

Organizing Samples
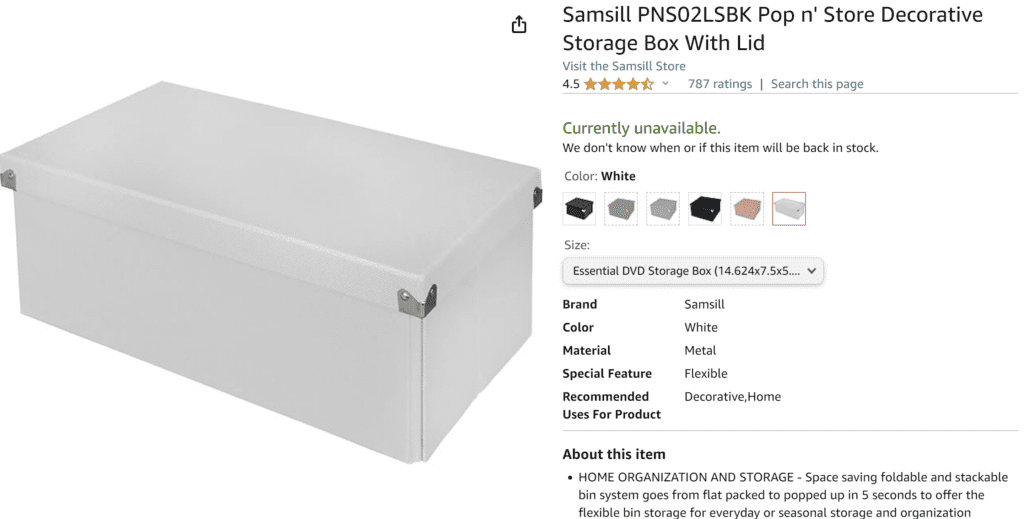
I use these boxes for sample organization as they are a perfect size for 5×7 invitation sets. Every invitation suite that I make, I save one copy in a dropzone while I’m doing assembly. This allows me to save that piece without distracting myself from the assembly at hand. Then, every quarter or so, I go through those sets and package up one full suite from each client.
I label it with the clients’ names and date, and include it in one of these sample boxes, in chronological order by wedding date. Once a box is full, I’ll label it “Keep: Date x – Date y”. Anything larger than A7 goes into a larger plastic bin, also by wedding date.
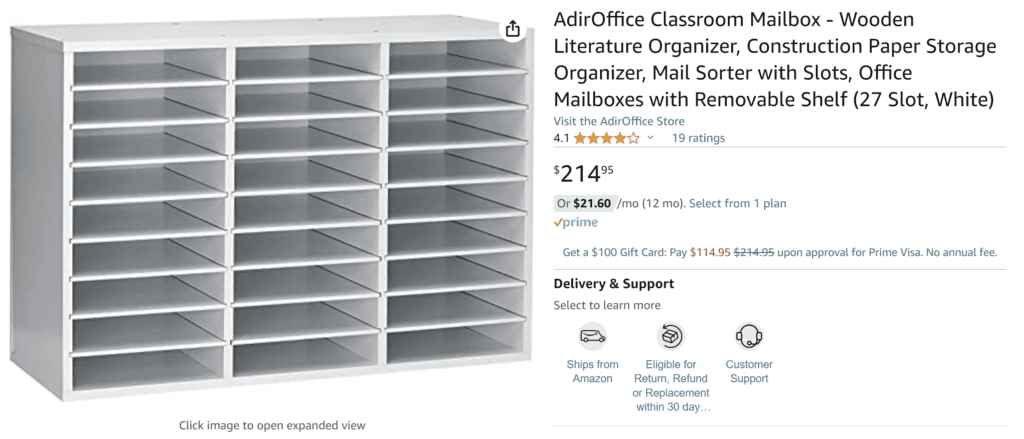
For semi-custom invitations and envelope liners, I keep stocked samples organized in these construction paper storage cabinets!
I only keep 5 additional pieces from any invitation suite these days – the rest get recycled pretty immediately. Those additional 5 go into a similar box labeled “Give”. Those pieces are available when clients ask for samples, to use for photographs, or to include in a sample packet for photographers or wedding planners! You might hold onto more at the beginning of your business, but at some point it’s helpful to cull a little more aggressively.
Organizing Paper + Envelope Stock
I try to keep as little stock on hand as possible, because I have a tiny 8×10’ office. If that’s not your situation, then you might want to do something else! But here’s what I do. Any envelopes or paper that I have that cannot be used to complete a full order (or most of an order) I will put aside for samples. I send out a lot of semi-custom samples, so envelopes are always needed for that. If they are misprints or overprints from a previous job, I have little stickers I can put over the printed return address, and then put the mailing label over the guest address, so I can make use of those instead of tossing them. I will also use the back of any pieces for scratch paper (I looove making lists!).
If there are enough pieces to potentially fulfill a future order, I’ll keep them on a spreadsheet with quantity and size/color information. This way, when I’m working with my next clients, I have an idea of what large quantities I’m working with and can try to use them as much as possible. This saves me money and makes ordering easier, as well as cleaning out my inventory.
How to Stay Organized with your Digital Files
If you have a ton of digital files from your past work, you might start to get overwhelmed with digital files on your computer. It’s important to keep your client files in order as well. Here are a few tips that I use!
Organizing Client Files
I keep all my client invitation files in a larger folder called “Wedding Items.” This folder is divided into active projects and the “Done” folder. The Done folder is further divided by year of the wedding, and the active folder is divided by individual project folders for each client named with the client names.
Within each project folder is everything for that client. I also make a folder called “Print Ready” when I prep the files for print, and put all the print files, and a finalized print-ready version of the Adobe Illustrator file into that folder. The Illustrator files are simply named with the clients’ names and type of the project (“Alex and Laney Wedding Invitations”). For artwork, I try to keep their name in the file name as well (“Alex and Laney Venue Painting”).
Every quarter or so, I will clean this folder out and move finished projects into the “Done” folder, and every year or so, I’ll organize the “Done” folder by year, and generally move all of those projects to my external hard drive a few times a year.
Organizing Artwork + Elements
Here’s a video about my favorite place to get elements for invitations, in case that’s helpful! I find these difficult to organize, so I try to be careful with them. I don’t want to remove the original name of the set, in case I need to find it again online, but those names don’t always say what type of art is inside. So I’ll often add to the name of the set – for instance, I’ll change “Rosaleen” to “Rosaleen – Bright Pink Digital Cutesy Flowers and Leaves”.
I will also collapse any internal folders, so that the PNG elements are in the main folder. This means that when you change the view to “Extra Large Icons” you can actually see some of the artwork in those folders. This also decreases the number of clicks you need to access everything.
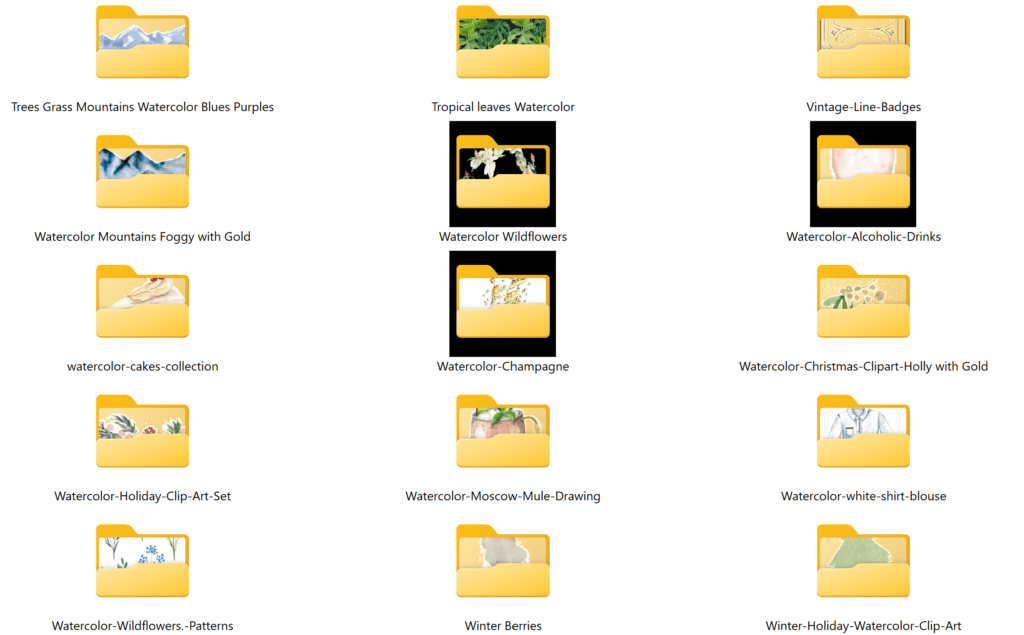
Lastly, of course I categorize folders by elements – most of mine fall into “Plants and Flowers” but I’ll have different categories for drawings of food, clothing, people, landscapes, etc. There will always be a little searching you have to do, but the easier you make it on yourself, the easier it will be! You can also utilize “dropzones” in your digital files, so if you download a lot at once, you can have various folders that they go in until you have time to sort them out. I have several generic folders within my Downloads folder for this reason.
Organizing Fonts
Organizing fonts can be a whole thing, so I filmed a video on that to make it easier to visualize!
Organizing Your Projects
It’s important to organize all your project and client data digitally too. For this, I use Dubsado (Honeybook is another great option too). Here’s another post about all the ways that I use Dubsado as a Stationery Designer, but here are a few ways Dubsado helps me stay organized:
- Keeping client info in one place
- Streamlining contracts, invoices, and payments
- Using questionnaires to collect info from clients
- Proof forms to collect feedback and get signatures for print approvals
- A calendar with all dates and important meetings on it
- …and more! (yes, that’s cheesy, but it’s so true!)
Psst! We now have *FREE* courses on HoneyBook and Dubsado! Sign up to get access to 13 videos teaching you what the features are and how to use them in your business! Dubs Course | HB Course
Organizing my Business Mentally
This is a somewhat nuanced topic, and what works for one person may not work as well for someone else. But as a business owner, you’re wearing so many hats, and it’s hard to keep them all straight sometimes. So here are some of my tools:
Trello
Trello is basically a giant to-do list app that I can share with my teammate. I’m a big brainstorm-y, list-loving type of person, so this is how I think. We have boards for all sorts of projects, make notes on them as needed, and then move them between different phases as we work through them. Pretty much everything happening in Design by Laney is on Trello!
Quickbooks
Quickbooks is how I manage all of my money! I’ve connected every account that accepts or sends money – banks, credit cards, Stripe, etc. – and Quickbooks notes every transaction. Personally, I pay for someone to bookkeep those transactions, but you don’t have to, especially when you’re starting out. It’s helpful mentally because I don’t have to worry about cataloging transactions as they happen. I know they will be there when it’s time to review them!
Custom Notepads
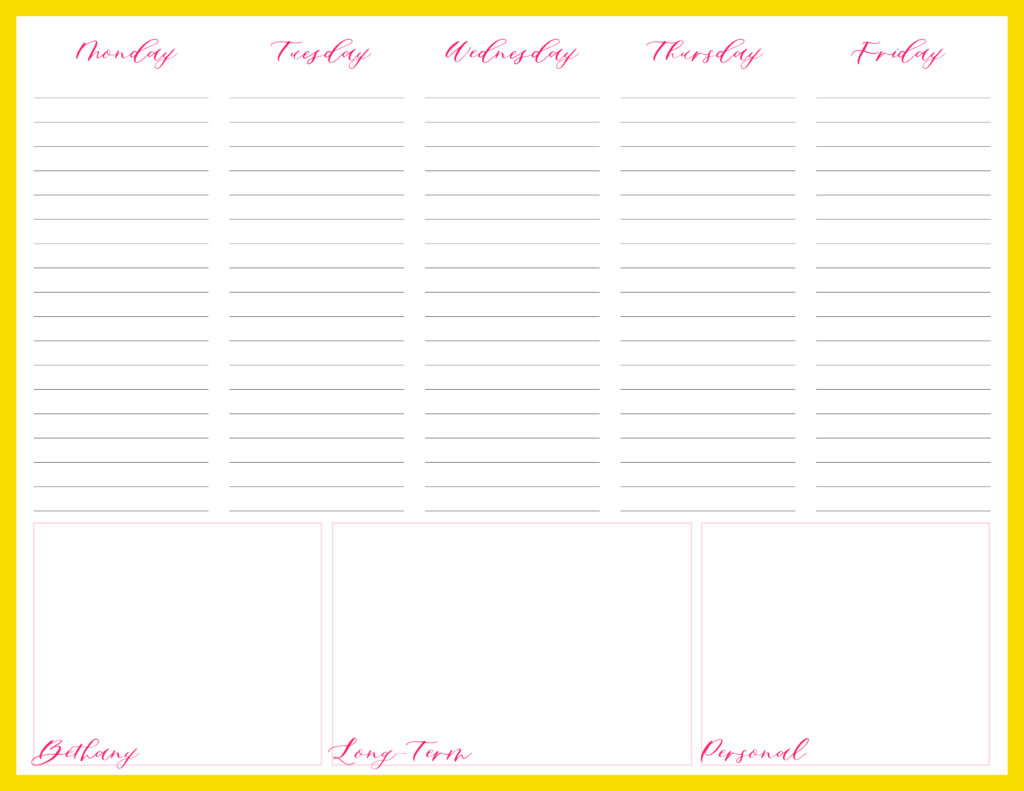
Since you’re also a stationery designer, here’s a video where I show you how to actually order these in case you want to do it too! I have created several custom notepads based on how my brain is working in different stages of the business. Lately, I’ve been enjoying this one, that is more weekly focused, and also has some space for additional things like long-term projects, personal items, and what my team mate Bethany is focusing on this week.
Time Management for Staying Organized
Time management is such an important part of running a small business, so here are a few tips that I find helpful:
- Do client work in the afternoon, and long-term building projects in the morning
- Use daily “dropzones” such as “all admin work is done on Fridays”. This way, when an admin task comes up, you can add it to your list, and know there’s time to get it done. You don’t have to stop and do it right now.
- Start at the top of the list, don’t cherry-pick
- Do the hard stuff now (it’s probably not that hard)
- Listen to your body on the “type” of work you need (hand-on, computer, brain on / brain off, public-facing, etc.)
- Focus on money-making tasks
Another tip that helps me a lot still today is to figure out how much you want to make per day (for instance: revenue per month divided by 20 working days). Then when you come in each day, you can ask yourself “How am I making my $300 (or whatever) today?”. This helps keep you focused on revenue-generating tasks!
Overall, staying organized is key to running a successful business. As you grow, you can rely on more systems and tools like Quickbooks, Trello, etc. to help you stay organized. But keep those principles from the beginning in mind as you figure out the best way to organize your stationery business!
How I Stay Organized as a Stationery Designer
Behind the scenes with your favorite Stationery Auntie Laney (and all the inside scoops!)
Not sure where you should start?
I gotchu
Just feeling it out?
Check out our 7 Day Invitation Design Crash Course!
Ready to Start?
Our signature beginner's course From Start to Suite is perfect for you! It's literally *everything* you'll need to get started as a stationer!
Ready to Scale?
Join Stationery School for continuing education with 100+ lessons and new ones released monthly!
