Tips + Tricks: Wedding Day Stationery Timeline
Wedding Day Stationery Timeline
You spend months planning every detail of your wedding, so you want it to come together perfectly. From the linens to the music, from the cake to the perfect shade of eyeshadow, every little piece is carefully curated for a cohesive overall look that is uniquely yours. Your wedding day stationery can be a big part of this overall feel, one that can help tie up all the loose ends of your décor, as well as help guide your guests through the entire day with ease. The tricky part of planning out your wedding day stationery is timing everything correctly between incoming RSVPs, table changes, and all the final details. We have created a handy guide to walk you through the timeline of planning your wedding day stationery, so you can make sure to get it right with no added stress!

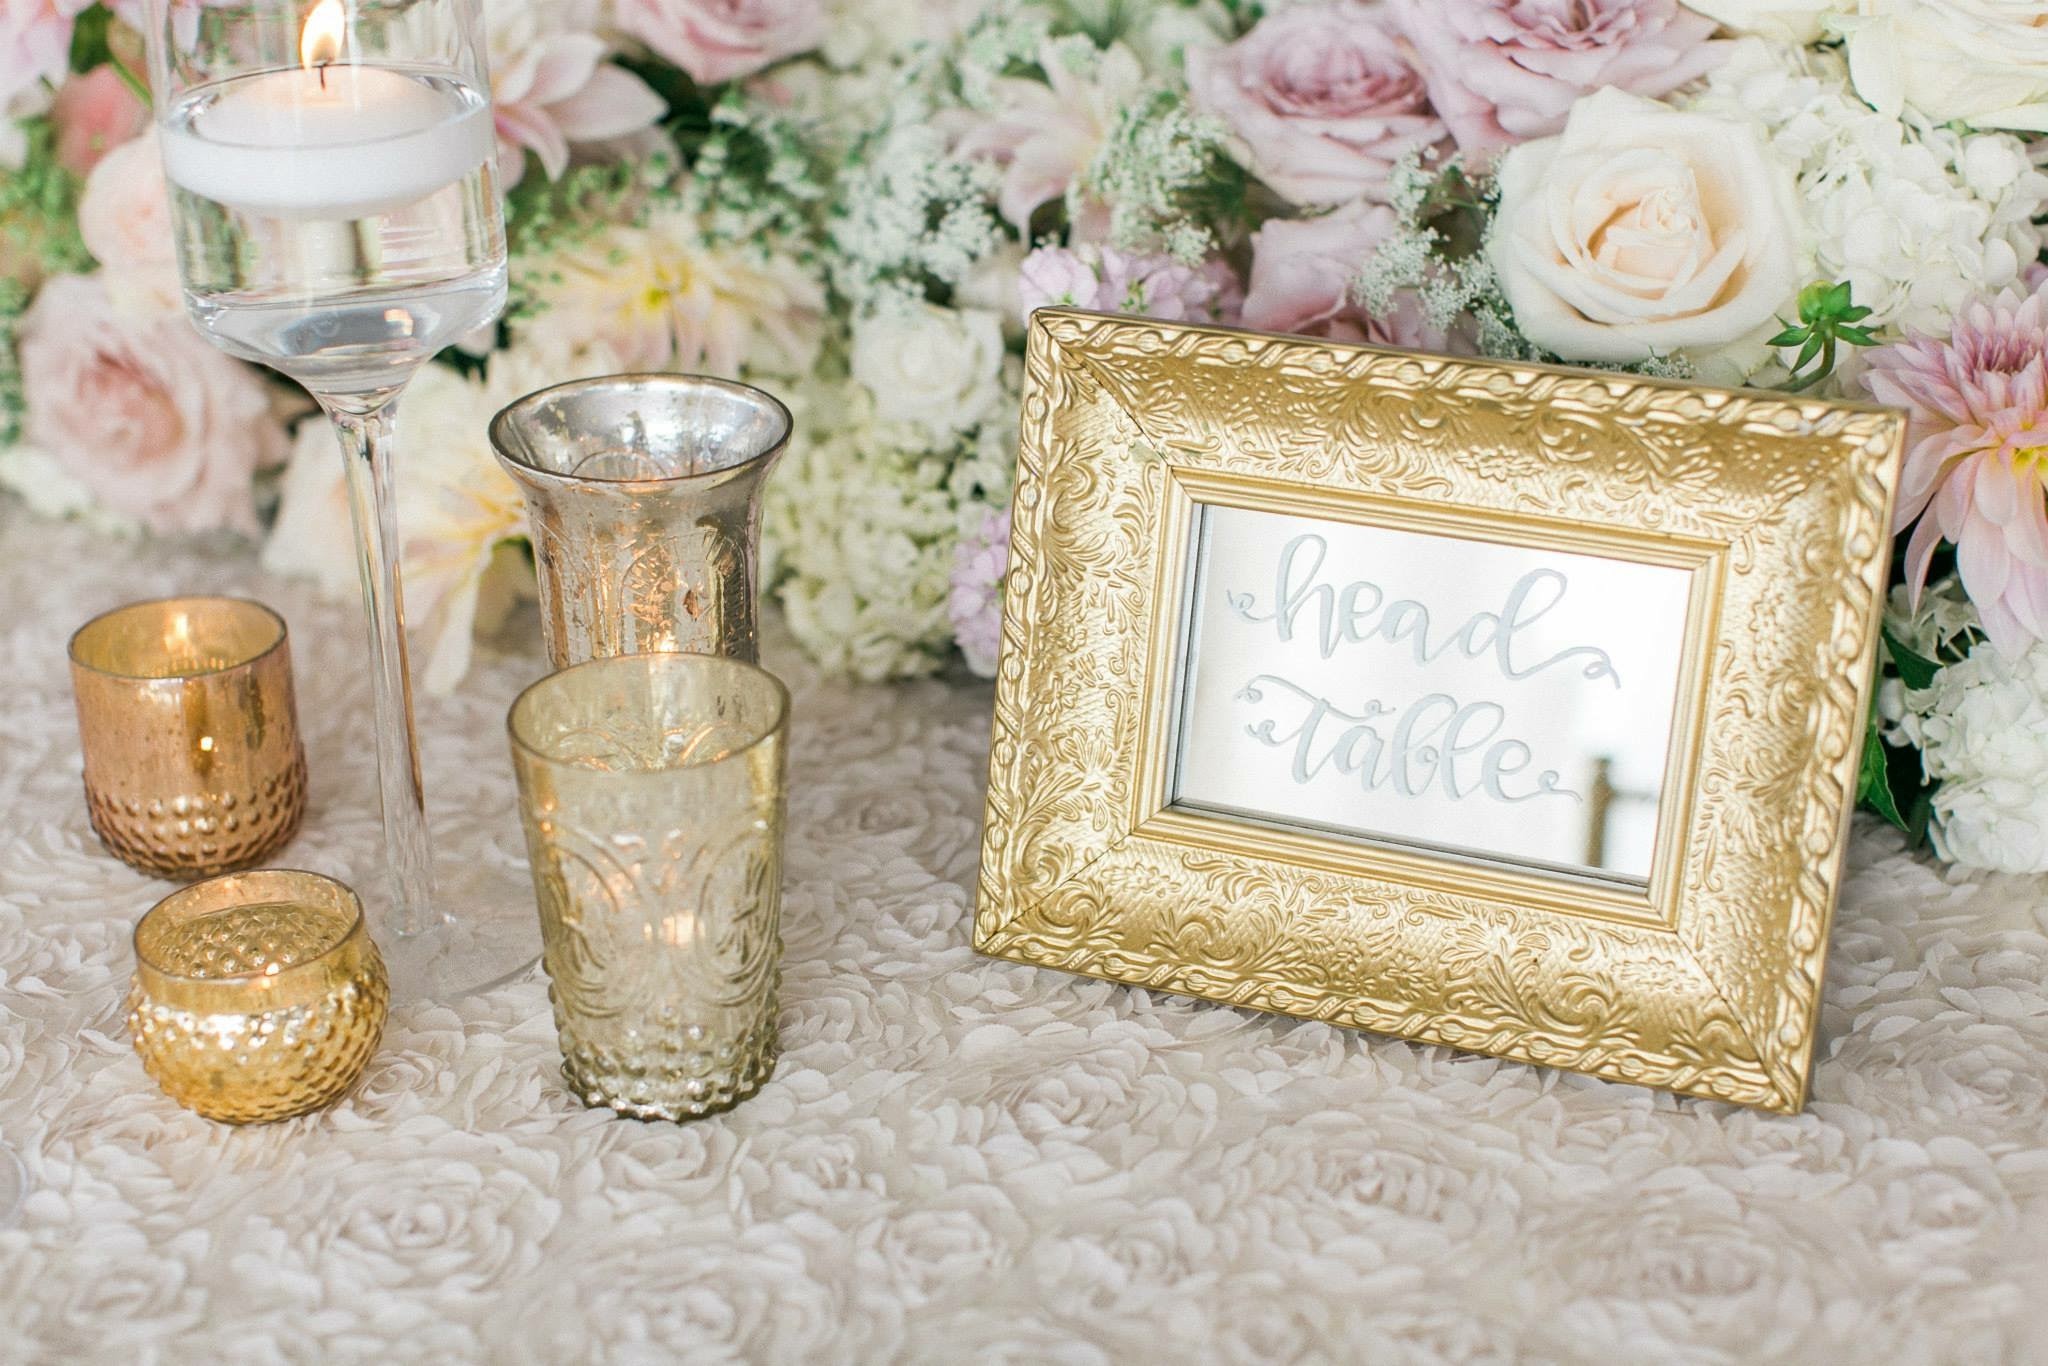
Photography by Jennifer McMenamin Photography
3 Months Before the Wedding
Look up ideas or create a design board to narrow down your style and vision
If you have a planner, they may have already assisted with this part. Try to get an idea of what materials you will want to use (wood, acrylic, mirrors, paper, etc.) and what words you’d use to describe your overall vision. The day-of stationery can truly piece together all the other décor that you have carefully picked out, so this is a chance to wow your guests with cohesive touches throughout your day!
Think about what you need
Wedding day stationery can be as simple or as complex as you like. There are so many options for signage, escort cards, seating chart displays, programs, favors, etc. Create a preliminary list of what you will need and approximate quantities
Think about why you need it
Go over your list again with an idea of why each piece is important to you. For instance, caterers may require you to indicate guest meal choices on their place setting. This can be accomplished via an escort card, place card, menu, or favor, and in many different ways. We love to stray from the traditional and play with different colors or shapes to indicate meal choices. Your venue may also be a little confusing, and require some additional signage for directions or informational purposes. Knowing the purpose of each item can help you establish your overall vision for each piece, and can help a designer provide suggestions to you! Talk with your planner during this step, if you have one.
Reach out to designers/calligraphers, if desired
Many designers only take on a certain number of projects for each wedding date, so get yours in early, especially during busy season.

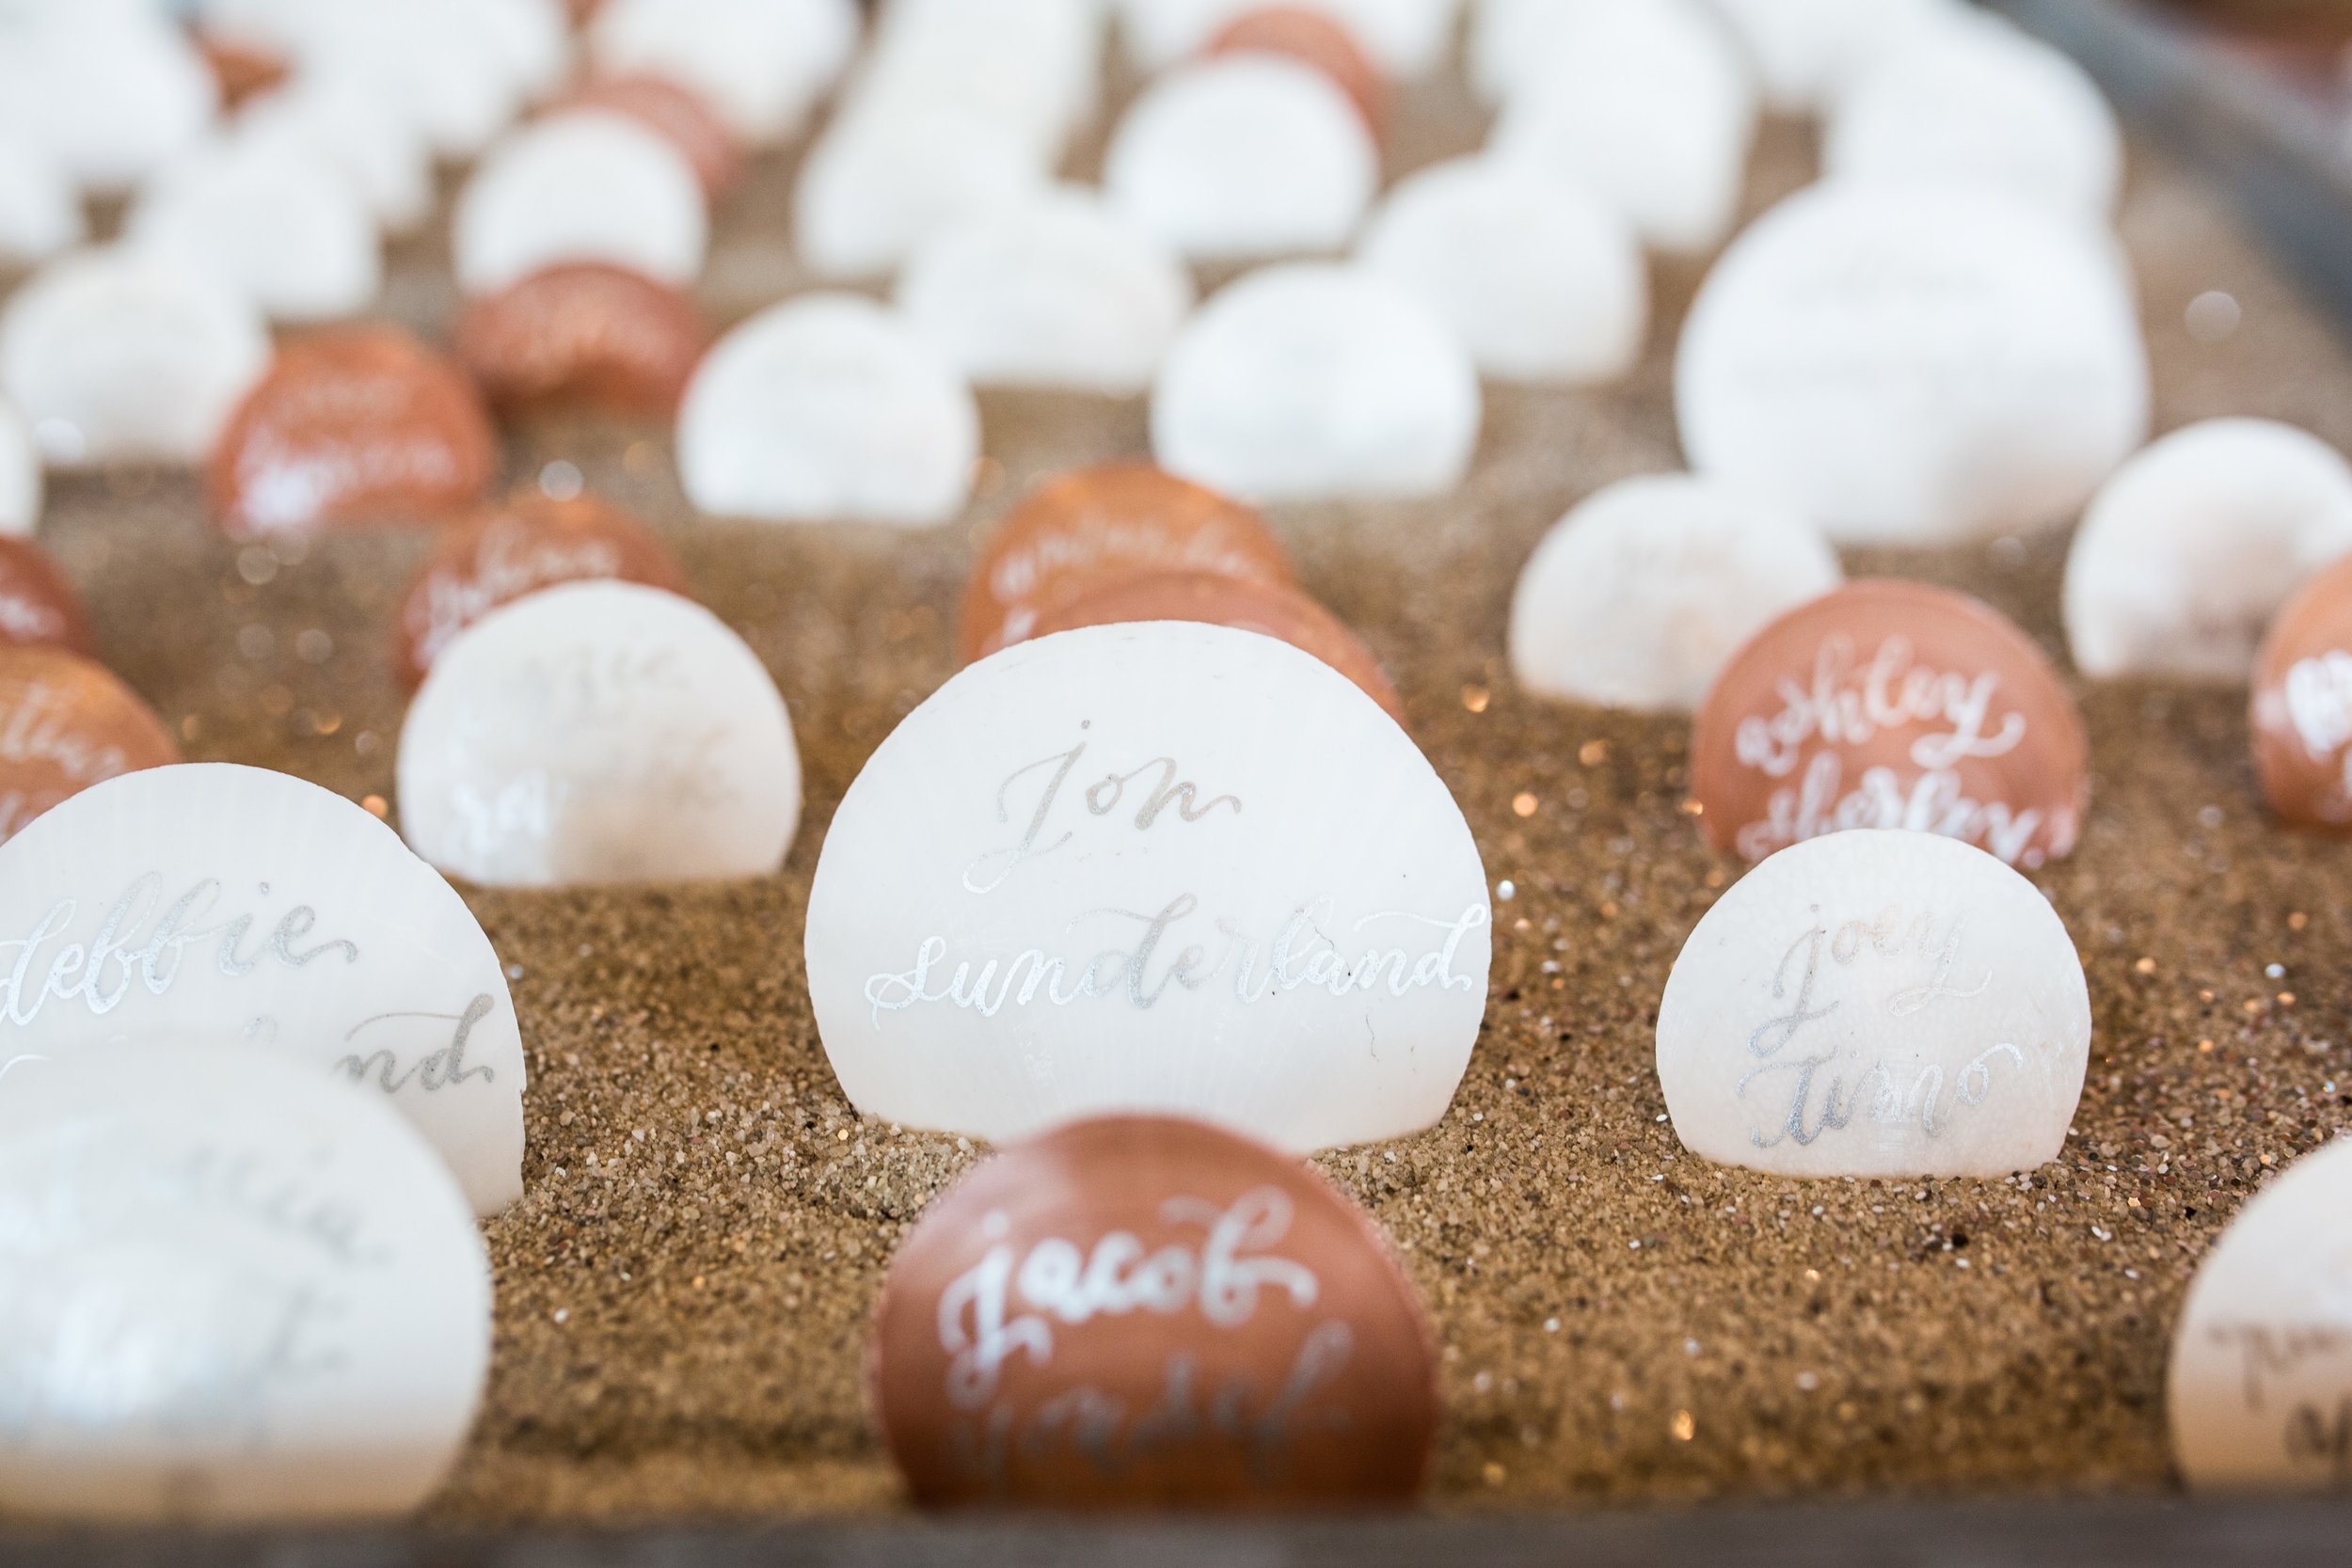
Photo by The Grovers
2 Months Before the Wedding
Finalize the list of pieces you will need
Give your designer some time to order and prep all the materials, so the final pieces can be put together quickly!
Create or approve preliminary designs
Your designer can provide proofs with preliminary wording while you finalize all the details
Meet with your officiant to decide the ceremony program
Make set-up arrangements with your venue
Some day-of items (specifically signage) can require equipment or other materials to set up (for example, easels for put signs on, rigging for anything that will hang, or an extra table for your escort cards). Make sure you talk to your venue and/or planner about what they can provide and what you need to bring with you
Notify anyone who will be setting up pieces on the day of the wedding
If your wedding party, family, planner, etc., will be assisting with the set-up, make sure they are aware of their specific duties and when to arrive!
PS: This is around when you should be sending out invitations!

Photo by Tim King Photo
6 Weeks Before the Wedding
Your Reply Date should be about 5-6 weeks before the wedding
This varies a little, of course, but more time will allow you a little longer to follow up with any “lost” replies. Update your designer with a final quantity so they can update your invoices.
Create your seating chart
This task can be daunting, but don’t worry! Everyone will have a good time no matter where they sit.
Pro Tip! Tradition is to keep your and your fiancé’s immediate families at the two tables closest to you, and work out from there.
Work on program and signage wording
Your friends and designer, if you have one, can come up with some options for you, but Pinterest is a big help as well!

Photo by Cavin Elizabeth Photography
4 Weeks Before the Wedding
Provide your final guest list/seating chart to your designer
Some designers will have different timelines, but this allows around 2 weeks to design, calligraph, or print all your seating chart, escort cards, and/or place cards. Your list should ideally be in Excel format, with columns separated for: First Name (with desired titles), Last Name, Table Number/Name, and Meal Choice if necessary. This will also help you sort meal options, table counts, and last names to help your planner, caterer, and venue!
Approve your final ceremony program and send to your designer
Approve all wordings for menu signs, bar signs, hashtag signs, etc. and send to your designer
Many clients simply forward menu information directly from the caterer, but you can cut down on back-and-forth emails if you let your designer know the level of detail you would like for these pieces up front (for instance, would you like the bar to list “Beer + Wine” or to spell out each individual option?)
Let your photographer know about your stationery
The details shots are what helps your wedding get featured, but even if that’s not what you are going for, you’ll want pictures of the stationery and signage to help you remember how beautiful your wedding was. Surprisingly often, things like escort cards or signage are missed by photographers in the fray of the entire day. If you let your photographer know in advance about these pieces, they can make a point to get those gorgeous stationery photos!
Pro Tip! Bring a full copy of your wedding invitation, Save the Date, and any associated shower/party invitations on the day of the wedding so that the photographer can shoot these pieces in the context of your entire wedding! Bonus points if you planned ahead and made everything match!

Photo by Studio Castillero
1-2 Weeks Before the Wedding
Pick everything up from your designer or finalize all pieces if you are DIY-ing
Many designers will wait as long as possible to allow for any last-minute table changes. If you need them to ship your pieces, always order a few extra place cards or escort cards so that you can fill them in for those last-minute attendees
Go over all details for your wedding day stationery with your planner
If you do not have a planner, make sure you individually go over each task with those assigned to assist
Organize all the wedding day stationery
Putting all your items in separate boxes for separate areas of the day is extremely helpful for your planner. For instance, all ceremony programs can go with your unity candle or other ceremony props, and the escort cards can go with your card box and guest book to be placed near the entrance
Pro Tip! Arranging your escort cards in alphabetical order ahead of time will allow your planner to spend time on more important tasks during your wedding day. Place cards can be in stacks by table for the same reason! If you are using tent cards, it helps more than you can imagine to fold them a few days before the wedding (this will help them stand up taller and look more uniform in photos)
Wedding Day
You only have one task today: Enjoy! Have a great time with no stressing, because you’ve planned the perfect day for you and your fiancé. If you’ve checked off all of these items, you will have no worries for your wedding day stationery, and finally be able to enjoy the day you’ve been planning for so long!
Hey, Hi, Hello!
Hi, I'm Laney!
Shop Wedding Invites
Business Resources
Watch on YouTube
I make wedding invitations and I teach artists how to work smarter, make money, and run a business that works for you.